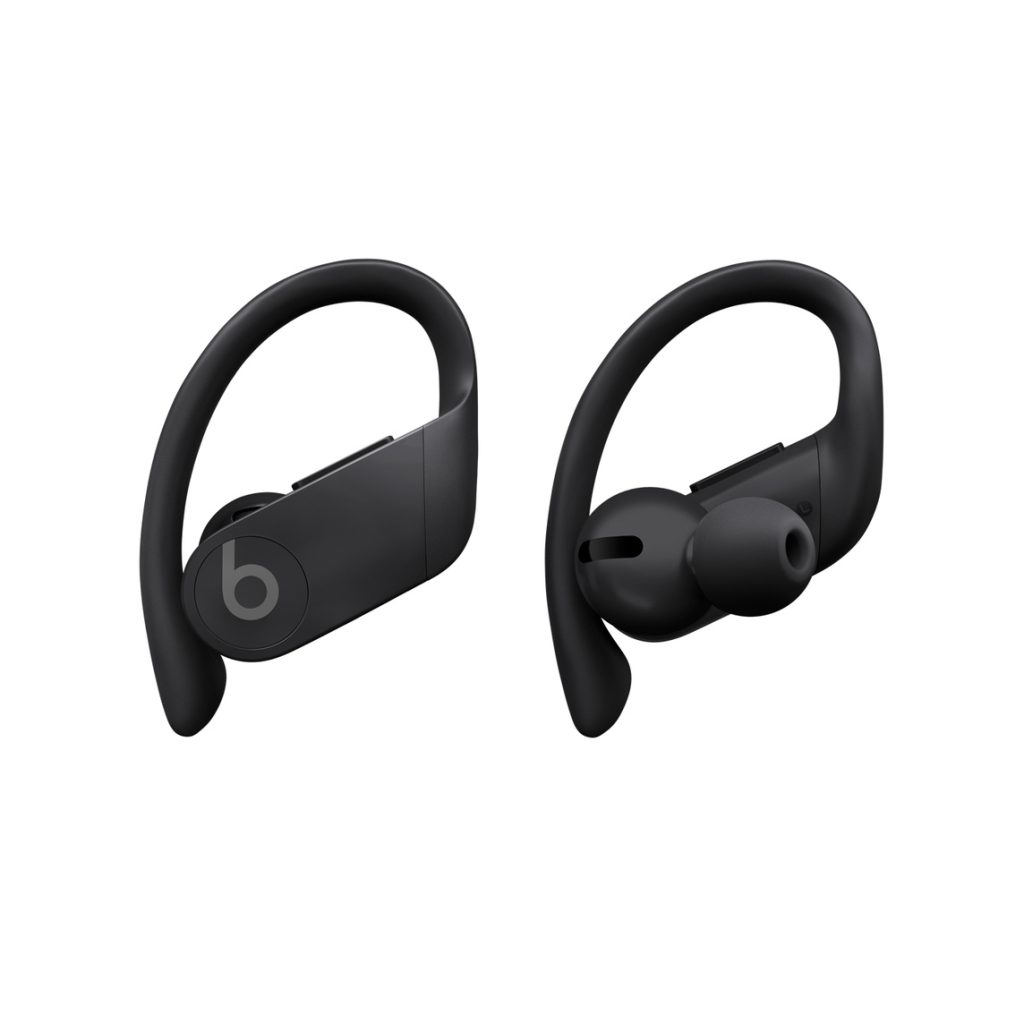
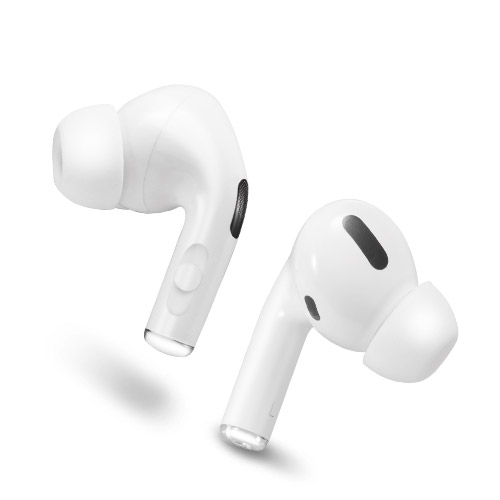
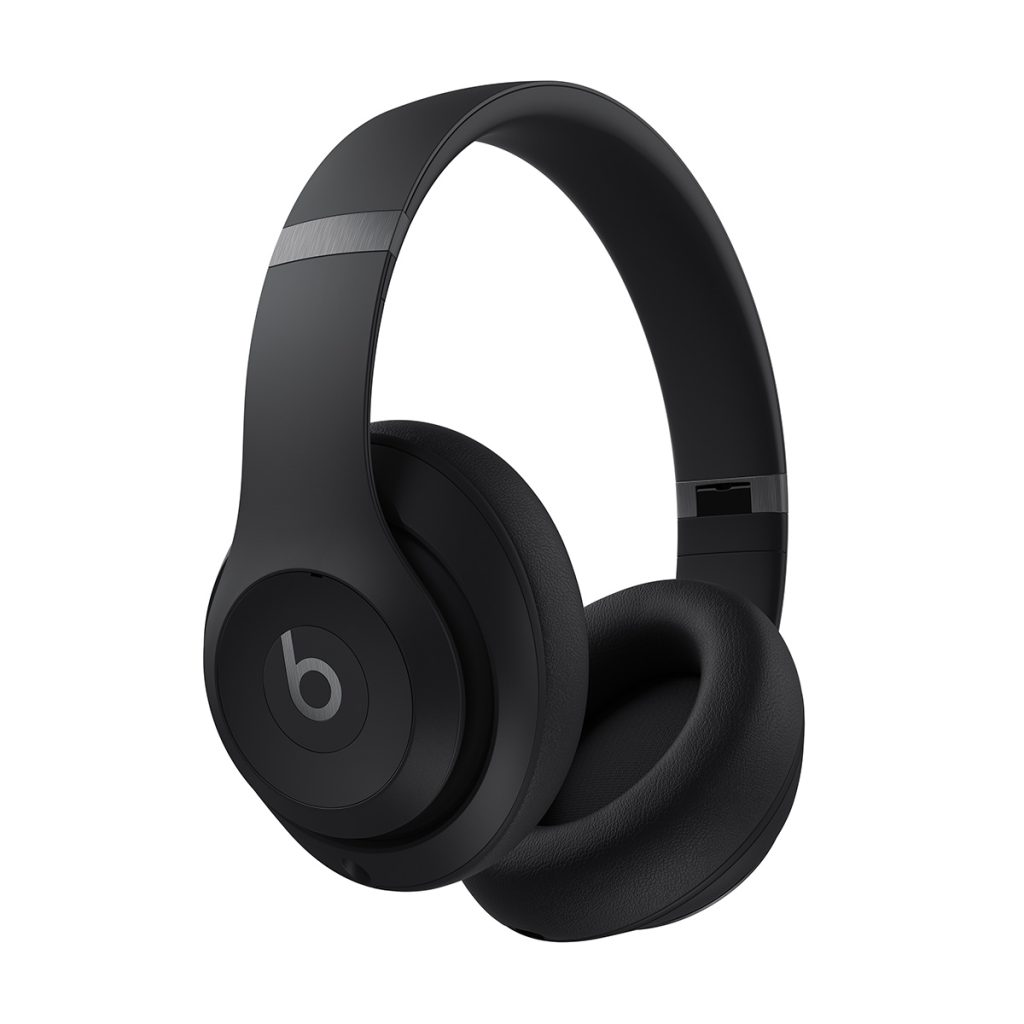
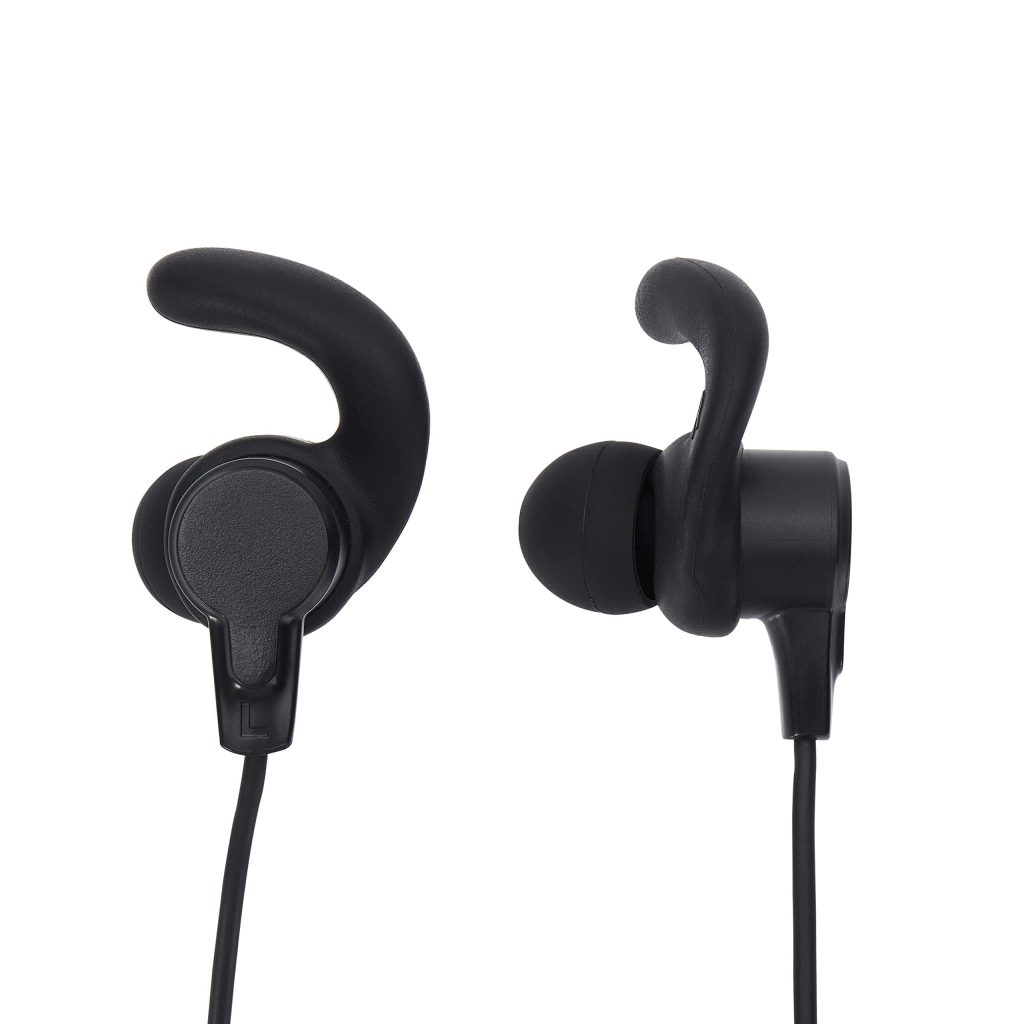
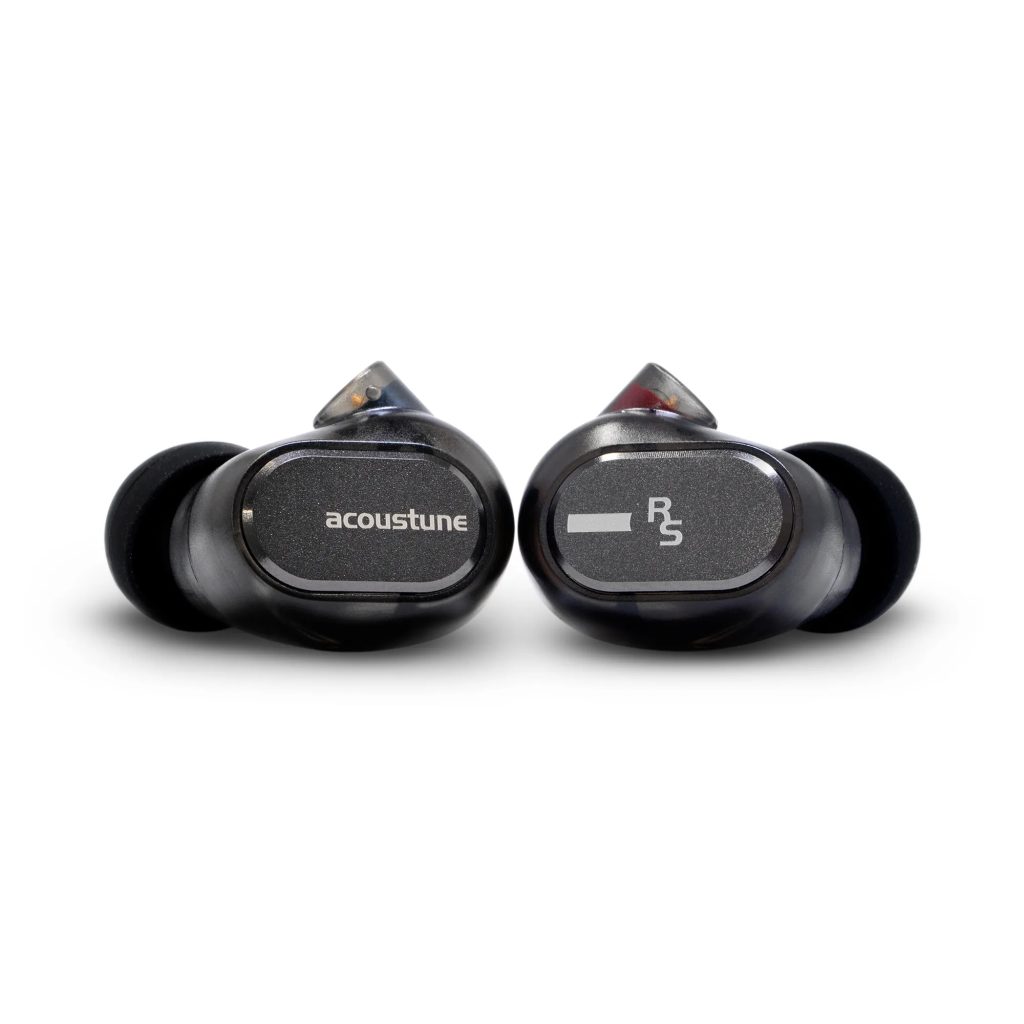
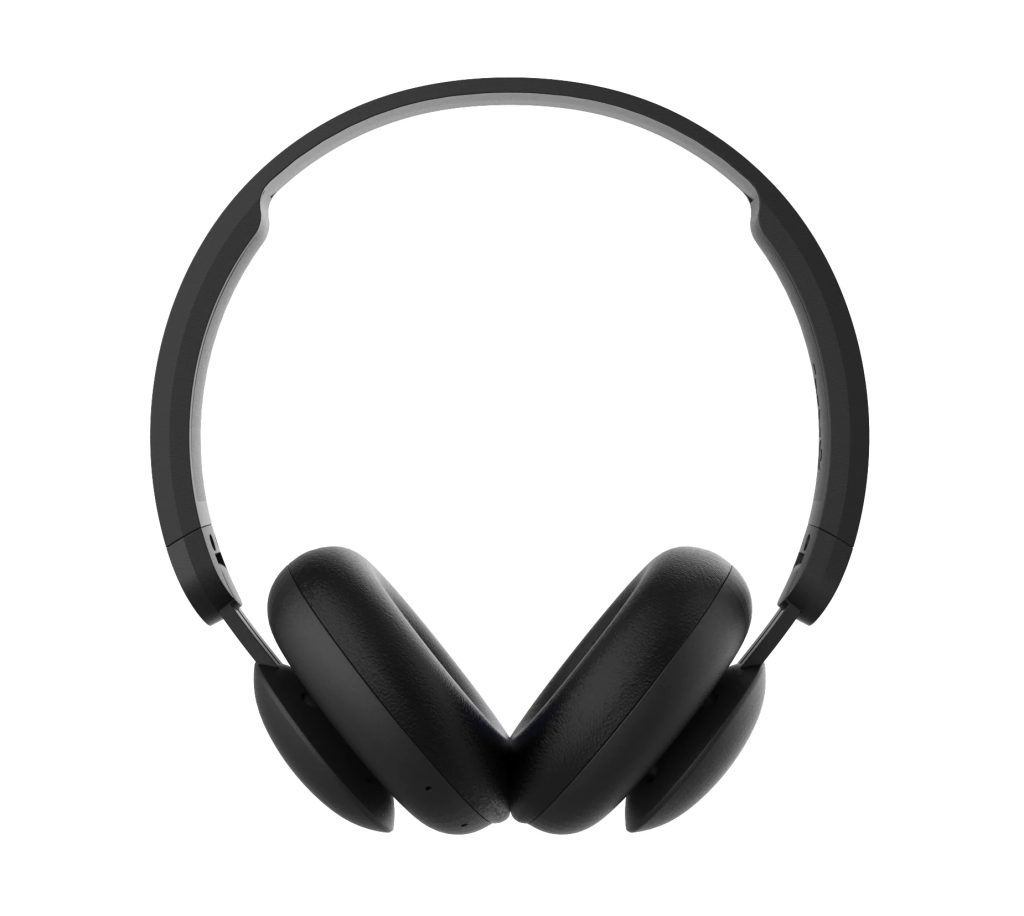
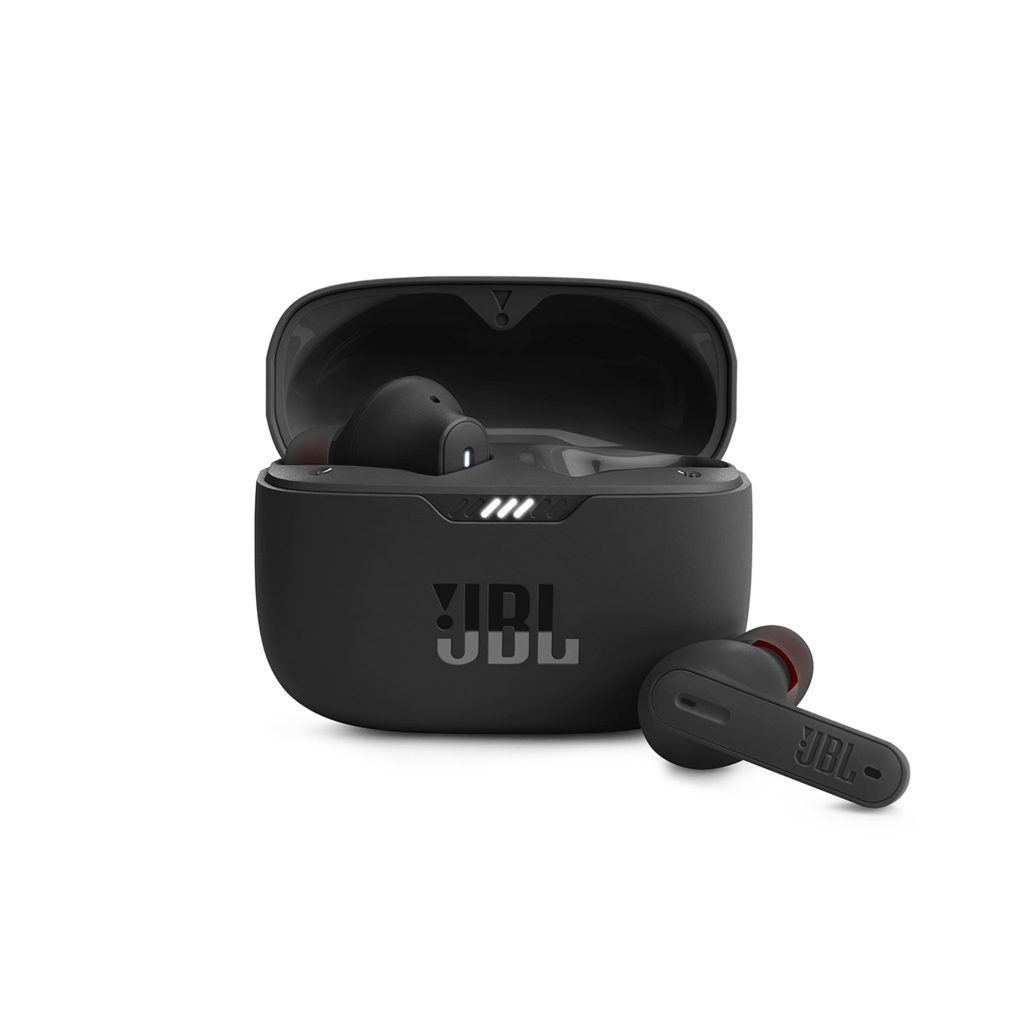
How to Pair Wireless Beats Earbuds

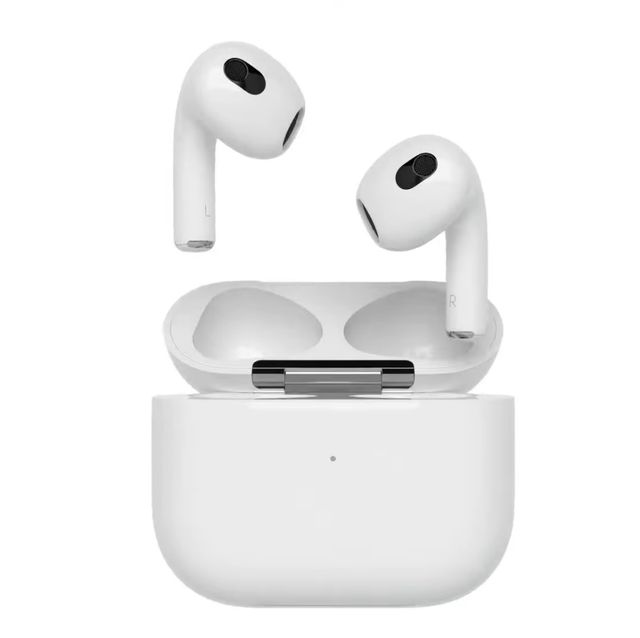
Wireless Beats earbuds have become increasingly popular due to their high-quality sound and sleek design. Pairing these earbuds with your device for the first time, or reconnecting them for daily use, is a critical part of the user experience. This article will guide you through the process of pairing your Wireless Beats earbuds with a variety of devices.

Preparing Your Wireless Beats Earbuds for Pairing

Before you can start grooving to your favorite tunes, you need to ensure your Beats earbuds are ready for pairing. This involves making sure they’re fully charged and understanding how to initiate the pairing mode.

Charging Your Beats Earbuds

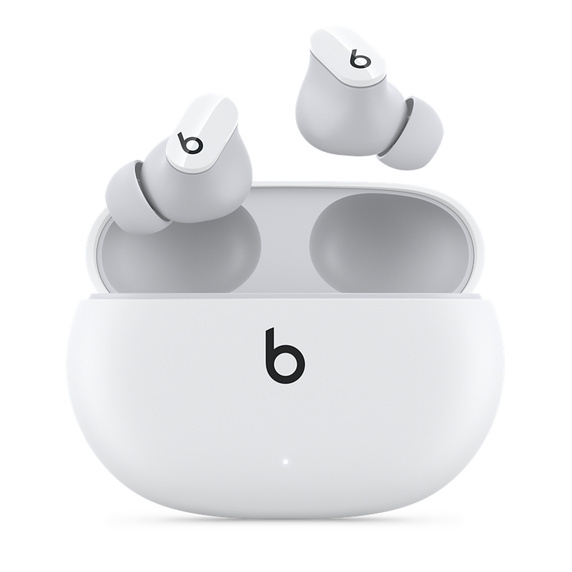
Most Beats earbuds come with a case that doubles as a charging station. To charge your earbuds, place them in the case and connect the case to a power source using the included USB cable. LED indicators on the case or earbuds will typically signal the battery level. It’s recommended to fully charge your earbuds before the first use.

Entering Pairing Mode

To pair your Beats earbuds with a device, you need to put them into pairing mode. For many Beats models, simply opening the charging case with the earbuds inside will automatically put them into pairing mode. If your earbuds don’t automatically enter pairing mode, you can manually trigger it by holding down the power button on the earbuds until the LED indicator flashes.

how to pair wireless beats earbuds

Pairing Beats Earbuds with Your Device

Once your Beats earbuds are charged and in pairing mode, you can connect them to your smartphone, tablet, laptop, or any other Bluetooth-enabled device.

Pairing with Smartphones and Tablets

Open the Bluetooth settings on your mobile device and ensure Bluetooth is turned on. Your device will search for available Bluetooth devices. From the list of devices, select your Beats earbuds (they might appear as “Beats Earbuds” followed by the model name). You may receive a prompt on your device to confirm the pairing; if so, confirm it. A successful connection is often indicated by a sound from the earbuds or a change in the LED indicator light.

Connecting to a Computer

To connect your Beats earbuds to a computer, open the Bluetooth settings, which can be found in the system preferences or control panel. Enable Bluetooth and search for new devices. Find and select your Beats earbuds from the list, and complete any prompts to finalize the pairing. Once connected, you may need to select the earbuds as the default audio playback device in your sound settings.

Troubleshooting Pairing Issues

Occasionally, you may run into difficulties when attempting to pair your Beats earbuds. If they’re not connecting as expected, a few simple troubleshooting steps can help resolve common issues.

Ensuring Your Earbuds are Recognizable

If your Beats earbuds don’t appear in the list of available Bluetooth devices, make sure they are in pairing mode and that their battery is charged. If you’re still encountering issues, try resetting your earbuds to factory settings, which is often done by holding down the power button for an extended period. Refer to the user manual for model-specific instructions.

Resolving Connection Failures

If your Beats earbuds are recognized but fail to connect, start by turning off Bluetooth on your device and then turning it back on. If this does not work, forget the earbuds from your device’s Bluetooth memory and retry the pairing process. As a last resort, restart your device and the earbuds.

Maximizing Your Beats Earbuds Experience

Pairing your Beats earbuds is just the beginning. To get the most out of your earbuds, familiarize yourself with their features and learn how to manage connections effectively.

Exploring Advanced Features

Many Beats earbuds come with additional features such as touch controls, voice assistance, and noise cancellation. Use the Beats app or refer to the user manual to learn how to make the most out of these features. Customizing your earbuds’ settings can enhance your listening experience and make them truly yours.

Managing Multiple Device Connections

If you’ve paired your Beats earbuds with multiple devices, they may automatically try to connect to the last device they were used with. To connect to a different paired device, you may need to select the earbuds manually from the device’s Bluetooth settings. Some Beats models also support simultaneous connections, allowing you to switch between devices seamlessly.

Enhancing Connectivity with Beats Earbuds

Successfully connecting your Beats wireless earbuds is just the start. To ensure a consistent and high-quality audio experience, it’s essential to optimize the connection between your earbuds and your devices.

Improving Connection Stability

A stable connection is vital for uninterrupted audio playback. If you experience frequent disconnections or audio drop-outs, consider the distance between your earbuds and the connected device. Bluetooth typically has a range of about 33 feet (10 meters), but this can be shortened by physical obstacles and interference from other wireless devices. Try to minimize the distance and remove barriers whenever possible. Additionally, keep your earbuds’ firmware updated using the Beats app, as updates can often improve connectivity and performance.

Adapting to Different Usage Scenarios

Beats earbuds are designed to cater to a variety of usage scenarios, from casual listening to active workouts. For a more tailored experience, adjust the fit of your earbuds using any included ear tips to ensure they stay secure and comfortable, especially during movement. If your earbuds support it, activate the ‘Stay Aware’ mode, or similar, to let in ambient sound and stay alert to your surroundings, which is particularly useful when exercising outdoors.

Maintaining and Caring for Your Beats Earbuds

To keep your Beats wireless earbuds functioning at their best, proper maintenance and care are crucial. Regular upkeep not only extends the lifespan of your earbuds but also ensures they perform as expected every time you use them.

Regular Cleaning and Storage

Like any personal electronic device, keeping your Beats earbuds clean is important. Use a soft, dry, lint-free cloth to gently wipe away any earwax or sweat from the earbuds after use. Avoid using any liquids or cleaners that could potentially damage the internal components. When not in use, store your earbuds in their charging case to keep them protected from dust and damage, and to keep the battery topped up so they’re always ready to go.

Updating and Syncing Across Devices

Lastly, ensure that your Beats earbuds and all the devices they are paired with are synchronized in terms of software updates. This includes updating the operating systems on your smartphones, tablets, or computers, as well as the Beats earbuds themselves. Keeping the software updated across all your devices will minimize compatibility issues and often brings enhancements and new features to your earbuds.

By following this guide, you should be able to pair your Wireless Beats earbuds with ease, ensuring a smooth and enjoyable listening experience. Remember to keep your devices and earbuds updated and to explore all the features your Beats earbuds have to offer. Whether for music, calls, or workouts, your Beats earbuds are a powerful audio accessory that can enhance your daily routine.

JBL Wireless Earbuds How to Connect: Quick Guide

Wireless earbuds have become an integral part of our daily lives, providing a convenient and unobtrusive way to enjoy audio content. JBL is known for producing earbuds with solid sound quality and durable design. If you’ve got your hands on a pair of JBL wireless earbuds, you might be eager to start listening right away. This quick guide will lead you through the process of connecting your JBL earbuds to your listening device.

Getting Your JBL Earbuds Ready for Pairing

Before you can immerse yourself in the rich sound of your JBL earbuds, you need to prepare them for pairing with your device. Make sure the earbuds are charged and in the correct mode to connect.

Charging Your Earbuds

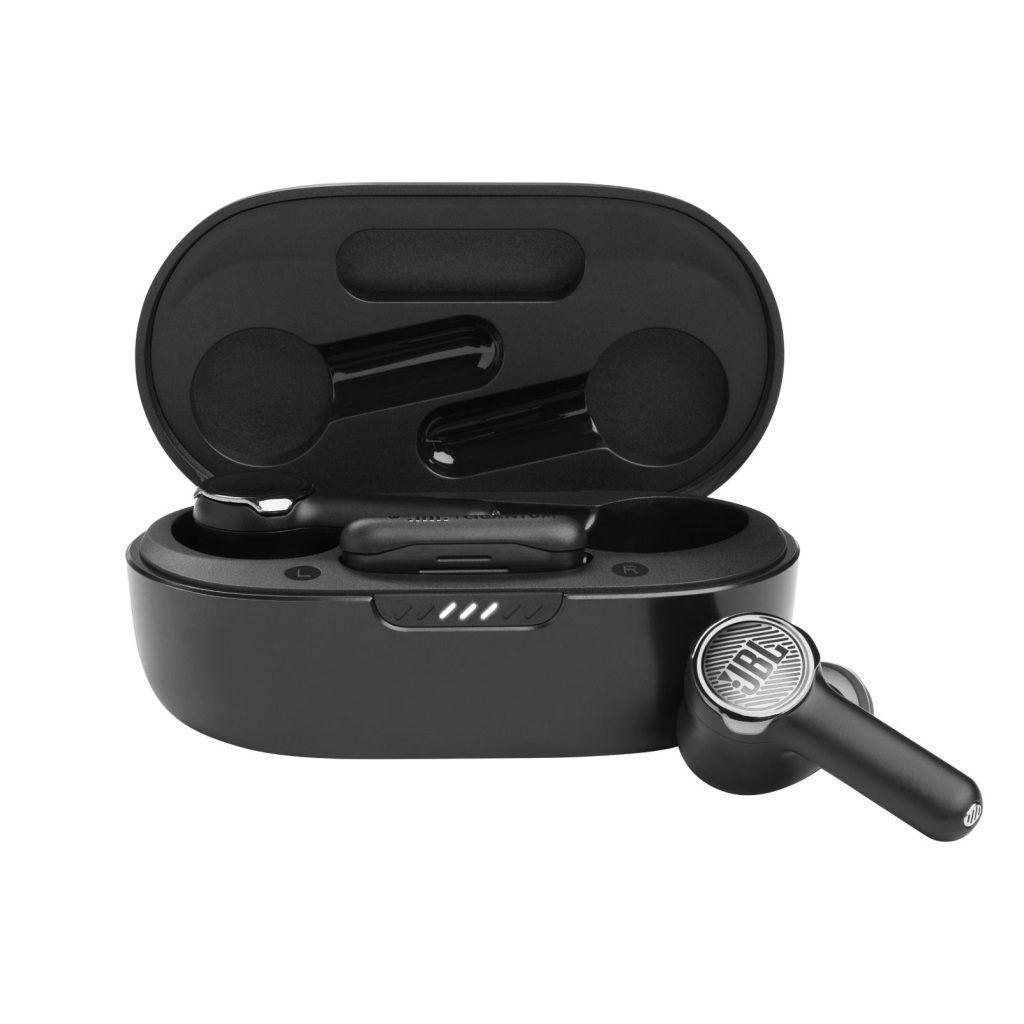
First, ensure your JBL earbuds are charged. You should fully charge them before the first use to ensure battery calibration. Place your earbuds in the charging case, and connect the case to a power source using the provided USB cable. Check the LED indicators on your JBL earbuds for battery status; a solid light indicates they are fully charged.

Activating Pairing Mode

Once charged, it’s time to put your JBL earbuds in pairing mode. To activate pairing mode, remove the earbuds from the charging case. Power on the earbuds for the first time, and they will automatically enter pairing mode. For earbuds previously connected to a device, manually activate pairing mode by holding down the power button or the touch-sensitive area, depending on the model, until the LED indicator starts flashing blue.

jbl wireless earbuds how to connect

Connecting JBL Earbuds to Your Device

With your JBL earbuds in pairing mode, the next step is to connect them to your smartphone, tablet, or computer.

Pairing with a Smartphone or Tablet

On your device, navigate to the Bluetooth settings under the settings menu. Make sure Bluetooth is turned on, and your device is in discovery mode. Your JBL earbuds should appear in the list of available devices—usually labeled with the model name. Tap the name of your earbuds, and the device should connect. You might hear an audio confirmation from the earbuds, and the LED indicator may change color or turn off to signify a successful connection.

Connecting to a Computer

To pair your JBL earbuds with a computer, the process is similar. Access the Bluetooth settings from the system preferences or control panel, depending on whether you’re using a Mac or a Windows PC. Ensure Bluetooth is enabled and search for new devices. Select your JBL earbuds from the list and wait for the connection to establish. If prompted for a passcode, you should enter “0000” (four zeros), which is the default for most Bluetooth devices.

Troubleshooting Connection Problems

Occasionally, you may run into issues when attempting to pair your JBL wireless earbuds. If you’re having trouble connecting, there are a few strategies you can try.

Ensuring Compatibility and Resetting

First, verify that your JBL earbuds are compatible with the device you’re trying to connect to. Most JBL earbuds use Bluetooth 4.0 or 5.0, which is compatible with most modern devices. If there’s an issue, try resetting your earbuds. This process can vary by model, but it often involves placing the earbuds back in the case, then holding down the power button for a certain period until the LED indicators flash a specific pattern.

Refreshing the Bluetooth Connection

Refresh the Bluetooth connection if your earbuds do not appear on your device or if they connect but fail to play audio. Turn off Bluetooth on your device, wait a few seconds, then turn it back on. Remove your JBL earbuds from the list of paired devices and put them back into pairing mode to reconnect.

Advanced Connection Features and Tips

Once you have your JBL wireless earbuds connected, there are additional features and techniques you can use to ensure a smooth listening experience.

Making Use of the JBL Headphones App

Many JBL earbuds are supported by the JBL Headphones app, available for both iOS and Android. The app can provide you with extra features, firmware updates, and personalized settings to enhance your listening experience.

Managing Multiple Connections

Some JBL earbuds come with the ability to remember multiple devices, making it easy to switch from one device to another. To manage these connections, use the Bluetooth settings on your device to disconnect or reconnect as needed.

Wireless earbuds have become an integral part of our daily lives, providing a convenient and unobtrusive way to enjoy audio content. JBL is known for producing earbuds with solid sound quality and durable design. If you’ve got your hands on a pair of JBL wireless earbuds, you might be eager to start listening right away. This quick guide will lead you through the process of connecting your JBL earbuds to your listening device.

Getting Your JBL Earbuds Ready for Pairing

Before you can immerse yourself in the rich sound of your JBL earbuds, you need to prepare them for pairing with your device. Make sure to charge the earbuds and put them in the correct mode for connection.

Charging Your Earbuds

First, ensure your JBL earbuds are charged. You should fully charge them before the first use to ensure battery calibration. Place your earbuds in the charging case, and connect the case to a power source using the provided USB cable. Check the battery status on most JBL earbuds by observing the LED indicators; a solid light means the earbuds are fully charged.

Activating Pairing Mode

Once charged, it’s time to put your JBL earbuds in pairing mode. To activate pairing mode, remove the earbuds from the charging case.The headphones will automatically enter pairing mode upon their first power-on. If previously connected to a device, you may need to manually initiate pairing mode by pressing and holding down the power button (or the touch-sensitive area, depending on the model) until the LED indicator begins to flash blue.

Enjoying Seamless Audio Across Devices

Pairing your JBL wireless earbuds with one device is just the beginning. JBL’s multi-point connection feature allows you to switch between devices effortlessly, making your earbuds more versatile.

Switching Between Paired Devices

If you’ve paired your JBL earbuds with more than one device, you can switch between them without needing to re-pair every time. This feature is handy if you use your earbuds with both your phone and your laptop. To switch, simply pause audio on the current device and play audio from the second device; the earbuds should automatically connect to the active audio source.

Connecting your JBL wireless earbuds should be a simple process. Take these steps to troubleshoot any issues. Experience the high-quality audio from JBL. Enjoy a wireless listening experience. Use this guide as a handy reference. Be prepared to connect your JBL earbuds on the go. Jam out with your earbuds wherever you are.

How to Pair Your Beats Wireless Earbuds

Wireless earbuds have become an essential accessory for music enthusiasts and busy professionals alike. Beats, as one of the leading brands in the audio industry, offers a range of wireless earbuds that are renowned for their sound quality and stylish design. Pairing your Beats wireless earbuds with your device for the first time or reconnecting them for daily use is a straightforward process once you understand the steps involved. This guide will walk you through the pairing process and provide tips to ensure a seamless connection.

Preparing Your Beats Earbuds for Pairing

Before you can enjoy the rich audio experience that Beats earbuds provide, you’ll need to pair them with your mobile device or computer. The first step is preparing your earbuds for this process, which involves ensuring they are charged and within range of the device you want to connect to.

Ensuring Your Earbuds are Charged and Ready

Your Beats wireless earbuds come with a charging case that serves as both a storage and charging unit. Before attempting to pair, make sure your earbuds have sufficient battery life. You can check the battery status by observing the LED indicators on the case or earbuds themselves, depending on the model.

Entering Pairing Mode

Once charged, remove your Beats earbuds from the case. Most Beats earbuds automatically enter pairing mode when they are turned on for the first time and not connected to any device. If they don’t enter pairing mode automatically, you can manually initiate it by holding down the power button or the system button (location may vary by model) until the LED indicator flashes, indicating that they are ready to pair.

how to pair beats wireless earbuds

Pairing Beats Earbuds with Your Device

Pairing your Beats earbuds is typically a one-time setup process. After the initial connection, your earbuds should automatically reconnect to your device whenever they are in range and turned on.

Initial Pairing with a Smartphone or Tablet

To pair your Beats earbuds with a smartphone or tablet, navigate to the Bluetooth settings on your device. Turn on Bluetooth and wait for your Beats earbuds to appear in the list of available devices. Select your earbuds from the list, and if prompted, confirm the pairing on your device. Once paired, you should hear a confirmation tone or notification through the earbuds.

Connecting to a Computer or Other Devices

If you want to connect your Beats earbuds to a computer or another Bluetooth-enabled device, the process is quite similar. Open the Bluetooth settings on the device, ensure Bluetooth is on, and put your earbuds into pairing mode. Select your Beats earbuds from the device’s Bluetooth list and pair them. Some devices may require a PIN code for pairing, which is often “0000” or “1234” if not specified by the documentation that came with your earbuds.

Troubleshooting Common Pairing Issues

Sometimes, you may encounter issues when trying to pair your Beats earbuds. Here are some solutions to common problems that can arise during the pairing process.

What to Do If Your Earbuds Aren’t Detected

If your Beats earbuds aren’t appearing in the list of available Bluetooth devices, ensure they are charged, within range (usually less than 30 feet with no obstructions), and in pairing mode. Restarting both the earbuds and the device you’re trying to pair with can also help resolve detection issues.

Resolving Persistent Connectivity Problems

For persistent connectivity problems, consider resetting your Beats earbuds to their factory settings. The reset procedure may vary by model but generally involves holding down a combination of buttons. Consult the user manual for specific instructions. Additionally, check for any firmware updates for your earbuds, as manufacturers often release updates to fix bugs and improve performance.

Advanced Tips for Using Beats Earbuds

Once you have successfully paired your Beats earbuds, there are additional features and tips you can utilize to enhance your listening experience.

Utilizing the Beats App and Custom Settings

The Beats app, available for both iOS and Android, provides additional controls and features to customize your listening experience. Through the app, you can adjust equalizer settings, check battery levels, and update firmware. Some models also offer features like “Find My Beats” to locate misplaced earbuds or to customize the function of the earbuds’ control buttons.

Switching Between Devices and Managing Connections

Your Beats earbuds can remember multiple devices, allowing you to switch between them easily. To switch connections, you may need to select your earbuds from the Bluetooth list on the new device manually. Managing your connection list through the Beats app or your device’s Bluetooth settings can help if you are having trouble connecting to a preferred device.

Enhancing the Pairing Experience Across Different Operating Systems

Pairing your Beats wireless earbuds is designed to be universally straightforward, but there can be specific nuances when pairing with different operating systems. Whether you are an iOS user, an Android enthusiast, or a Windows or MacOS loyalist, understanding the unique features of your OS can optimize the pairing process and enhance your overall experience.

Pairing with iOS and the Apple Ecosystem

Beats, being part of the Apple family, offers an especially seamless pairing experience with iOS devices. Thanks to the integrated Apple H1 or W1 chip in many Beats earbuds, pairing with an iPhone or iPad can be as simple as bringing the earbuds close to your device. A prompt will appear on the screen, guiding you through the quick pairing process. The earbuds are then automatically paired with other devices signed into your iCloud account, including your Apple Watch, Mac, or iPad, allowing for effortless switching between devices.

Android and Windows Connectivity Nuances

Android users can download the Beats app for a tailored experience, similar to the iOS integration. The app offers a smooth pairing process, as well as access to software updates and product support. For Windows users, the Bluetooth settings menu is your gateway to pairing. After placing your Beats earbuds into pairing mode, you’ll find them listed under “Bluetooth & other devices.” Once paired, Windows will remember your earbuds for future connections. MacOS users will find a similar Bluetooth menu in the System Preferences, ensuring that regardless of the operating system, your Beats earbuds can quickly become an essential part of your tech ecosystem.

In conclusion, pairing your Beats wireless earbuds should be a quick and hassle-free process. By ensuring your earbuds are properly charged, following the steps to enter pairing mode, and knowing how to troubleshoot common issues, you can enjoy a seamless audio experience with your Beats. Remember to take advantage of the additional features and settings available to you for an even more personalized listening experience. With these tips in mind, you’ll be ready to pair your Beats earbuds and dive into your favorite music or podcasts in no time.

A Complete Guide on How to Charge Wireless Earbuds

Wireless earbuds have transformed the way we listen to music, make calls, and interact with our smart devices. Free from the shackles of cables, they offer unparalleled convenience and mobility. However, to continue enjoying the freedom of wireless audio, keeping your earbuds charged is crucial. In this comprehensive guide, we’ll walk you through the steps and tips for charging your wireless earbuds effectively.

Understanding the Basics: Charging Your Wireless Earbuds

Before diving into the intricacies of charging wireless earbuds, it’s essential to understand the basics. Most wireless earbuds come with a charging case that houses a battery. This case is used to store and charge the earbuds when not in use. The case itself can be charged using a USB cable or, in some cases, through wireless charging.

Step-by-Step Charging Process

  1. Place your wireless earbuds securely into the charging case. Ensure the charging contacts on the earbuds align with the contacts in the case.
  2. Close the charging case if necessary; some models begin charging automatically upon closure.
  3. Connect the charging case to a power source using the supplied USB cable. Alternatively, if your case supports wireless charging, place it on a compatible charging pad.
  4. Monitor the charging progress through LED indicators on the case or through a companion app, if available.

Troubleshooting Common Charging Issues

Occasionally, you might encounter issues where your wireless earbuds do not charge properly. This could be due to various reasons such as dirty charging contacts, a faulty cable, or a malfunctioning charging case. To troubleshoot these issues, clean the contacts with a dry cloth, try using a different cable, or reset your earbuds as per the manufacturer’s instructions.

how to charge wireless earbuds

Advanced Charging Techniques and Tips

To maximize your wireless earbuds’ battery life and ensure efficient charging, consider the following advanced techniques and tips.

Optimizing Charging Habits for Longevity

Don’t wait for your earbuds’ battery to deplete entirely before charging them. Lithium-ion batteries, commonly used in wireless earbuds, perform best when kept between 20% and 80% charged. Additionally, avoid leaving your earbuds in the charging case while the case is connected to power for prolonged periods, as this can lead to overcharging, which may reduce battery lifespan.

Utilizing Fast Charging and Wireless Charging Features

Some wireless earbuds come with fast charging features that can provide hours of playback time with just a few minutes of charging. Use this feature judiciously to quickly top up your earbuds’ battery when in a hurry. If your case supports wireless charging, investing in a Qi-compatible charging pad can offer the convenience of cable-free charging.

Maintaining and Monitoring Earbud Battery Health

Proper maintenance can significantly impact the longevity of your wireless earbuds’ battery life. Here are ways to keep the battery health in check.

Regular Maintenance of Charging Equipment

Ensure the charging case and earbuds are kept clean and free from debris. This prevents any potential charging disruptions caused by obstructed contacts. Additionally, store your charging equipment in a cool, dry place to prevent exposure to extreme temperatures, which can damage the battery.

Monitoring Battery Health and Usage

Some wireless earbuds come with companion apps that provide insights into battery usage and health. Use these tools to monitor how your charging habits affect battery life and to make adjustments accordingly. If your earbuds lack such features, pay attention to changes in battery performance and consult the manufacturer’s guidelines for battery care.

Choosing the Right Charging Accessories and Replacements

When the time comes to replace your charging cable or case, making the right choice is essential to ensure compatibility and safety.

Selecting Quality Charging Accessories

Always opt for accessories recommended by the manufacturer or those that are certified for use with your specific earbud model. Using off-brand or uncertified accessories can lead to poor charging performance or even damage your earbuds.

Replacing Batteries and Charging Cases When Needed

Over time, battery performance will degrade, and you may need to replace either the earbuds or the charging case. Some manufacturers offer battery replacement services or sell individual charging cases. Take advantage of these options to extend the life of your wireless earbuds.

Maximizing Charge Cycles: Getting the Most Out of Each Charge

Preserving the life of your wireless earbuds also involves maximizing the number of charge cycles you can get from each charge. Charge cycles refer to the process of charging your earbuds from 0% to 100%. However, it’s important to note that not all charge cycles are equal, and there are strategies to extend the usefulness of each cycle.

Balancing Usage with Charging Frequency

To avoid frequent charging, which can gradually wear down your earbuds’ battery, be mindful of how you use your earbuds. For instance, using higher volumes requires more power and will drain the battery faster. By managing the volume and utilizing power-saving features if available, you can reduce the number of times you need to charge your earbuds.

Managing Earbuds When Not in Use

Even when not actively using your earbuds, they can still consume power. It’s important to ensure they are turned off or placed in their charging case, which often triggers an auto-off feature to conserve battery life. Some earbuds also have a sleep mode that activates after a period of inactivity, further preserving charge.

The Future of Charging Wireless Earbuds: Innovations and Trends

As technology evolves, so too does the way we charge our devices. Wireless earbuds are no exception, and we’re seeing exciting developments in the realm of charging methods and battery technology.

Emerging Charging Technologies

Developments such as solar charging cases, kinetic energy harvesting, and even over-the-air charging are on the horizon. These technologies promise to make charging more convenient and environmentally friendly, potentially eliminating the need for cables and reducing our dependence on traditional power sources.

Advancements in Battery Technology

Battery technology is also advancing, with research into solid-state batteries and other innovative solutions that could offer higher energy densities, faster charging times, and longer lifespans. In the future, these advancements could radically change how we maintain our wireless earbuds, making them even more convenient and sustainable.

In conclusion, charging your wireless earbuds correctly is key to maintaining their performance and lifespan. By understanding the basics, adopting advanced charging techniques, maintaining battery health, and choosing the right accessories, you can ensure your wireless earbuds are always ready to deliver high-quality audio whenever you need them.

How to Pair Onn Wireless Earbuds: A Step-By-Step Guide

Onn wireless earbuds offer an affordable and convenient way to enjoy music, take calls, and engage with media on the go, without the hassle of tangled cords. Whether you’ve just purchased a pair or are troubleshooting a connection issue, knowing how to pair your earbuds properly is essential for getting the most out of your wireless audio experience. This guide will provide clear instructions and helpful tips for pairing Onn wireless earbuds with your devices, ensuring a smooth and effortless setup.

Preparing Your Onn Wireless Earbuds for Pairing

Ensuring Your Earbuds Are Ready to Pair

Before beginning the pairing process, it’s important to make sure that your Onn earbuds are charged and in pairing mode. If they’re new, they may come partially charged, but it’s often best to fully charge them before the first use. Locate the charging port—usually on the case—and connect the earbuds to a power source using the provided cable. Once charged, remove the earbuds from the case, and they should automatically go into pairing mode, indicated by a flashing LED light.

Understanding the Pairing Signals

Familiarizing yourself with the LED indicators on your Onn earbuds can help you determine their status. A blinking blue light typically signifies that the earbuds are in pairing mode and ready to connect to your device. A solid blue light often means the earbuds are successfully connected. If the light is red or does not come on, the earbuds may need to be charged or reset. Consult your Onn earbuds manual for specific light indicator meanings and troubleshooting steps, if necessary.

how to pair onn wireless earbuds

Pairing Onn Wireless Earbuds with Your Device

Step-by-Step Pairing Instructions

To pair Onn wireless earbuds with your smartphone, tablet, or computer, start by going into the Bluetooth settings on your device. Ensure that Bluetooth is turned on, and your device is in discovery mode. Select your Onn earbuds from the list of available devices—often labeled with the model number or simply “Onn Earbuds”—and wait for the pairing process to complete. You should receive a notification or see a visual cue on your device indicating that the connection is successful.

Effective Troubleshooting for Common Pairing Issues

If your earbuds don’t appear on the device’s Bluetooth list, or if the pairing fails, there are several troubleshooting steps you can take. Try resetting your Onn earbuds by placing them back in the charging case and holding down the pairing button, if available. You can also restart your device’s Bluetooth or reset its network settings. If problems persist, restarting your device or earbuds may resolve any connectivity issues.

Tips for Maintaining a Stable Connection

Optimizing Your Earbuds’ Performance

Once paired, maintaining a stable connection is key to enjoying uninterrupted audio. Keep your paired device within the typical Bluetooth range of 10 meters (33 feet) without significant obstacles between the earbuds and the device. Avoid areas with high levels of electromagnetic interference, such as near Wi-Fi routers or microwaves, which can disrupt Bluetooth signals.

Managing Multiple Bluetooth Connections

If you plan to use your Onn wireless earbuds with more than one device, it’s important to manage your Bluetooth connections effectively. Some Onn earbuds can remember multiple devices, but they may only connect to one device at a time. To switch connections, you may need to manually disconnect from the current device before connecting to another. Consult the user manual for guidance on managing multiple connections with your specific model.

Maximizing the Potential of Your Onn Wireless Earbuds

Exploring Advanced Features

Once you’ve mastered the basic pairing process, take the time to explore the advanced features that your Onn wireless earbuds may offer. Many models come with touch controls allowing you to play, pause, or skip tracks, as well as answer calls directly from the earbuds. Some might even support voice commands or have an accompanying app to customize your listening experience. Familiarizing yourself with these added functionalities can greatly enhance your usability and enjoyment of the product.

Maintaining Your Earbuds for Longevity

To ensure that your Onn wireless earbuds last as long as possible, proper care is essential. Keep them clean and free of debris by gently wiping them with a dry, soft cloth. Avoid exposing your earbuds to extreme temperatures and moisture, as these can damage the electronics inside. Additionally, ensure that you store your earbuds in their charging case when not in use to protect them from physical damage and to keep the battery charged.

Pairing Onn Wireless Earbuds with Multiple Devices

Switching Between Devices Seamlessly

One of the conveniences of Bluetooth-enabled devices such as Onn wireless earbuds is the ability to connect them to multiple devices, whether it’s your phone, tablet, or laptop. However, this functionality may vary depending on the model of your earbuds. Some can store multiple device connections and switch between them quickly, while others require a manual re-pairing process each time you want to use a different device. If your earbuds support multi-device pairing, refer to the manual on how to activate this feature and how to easily switch your connection when needed.

Considering Compatibility and Pairing Limits

It’s important to note that Bluetooth technology has different versions and not all devices may be compatible with your Onn wireless earbuds. When attempting to pair with multiple devices, ensure that each device uses a compatible Bluetooth version that supports the earbuds. Additionally, consider the pairing limits of your earbuds. While they may be able to remember multiple devices, they can only be actively connected to one device at a time. Understanding these limitations can help prevent frustration and ensure a smoother user experience.

Optimizing Your Audio Experience with Onn Earbuds

Enjoying Seamless Audio with Proper Pairing

With your Onn wireless earbuds now successfully paired, you’re ready to enjoy your music, videos, and calls with the freedom of wireless audio. Proper pairing ensures a seamless connection that lets you make the most of your earbuds’ capabilities, from clear sound quality to convenient touch controls.

Continued Support for Your Onn Earbuds

Should any further questions or issues arise with your Onn wireless earbuds, refer to the user manual or the Onn customer support portal for additional assistance. With the correct pairing process and a few troubleshooting tips up your sleeve, you can ensure a reliable and enjoyable listening experience with your Onn wireless earbuds for all your audio adventures.

How to Connect Beats Wireless Earbuds

Beats by Dr. Dre is a leading audio brand known for its premium sound quality and stylish design. Connecting your Beats wireless earbuds to your device can revolutionize your music experience, granting you the freedom of movement without sacrificing audio quality. Whether you’re a first-time user or just need a refresher, this guide will walk you through the process of pairing your Beats earbuds with any Bluetooth-enabled device. With a focus on simplicity and ease, we’ll ensure you’re ready to enjoy your music, podcasts, or calls wirelessly in no time.

Understanding the Connectivity of Beats Earbuds

Before you begin pairing your Beats earbuds, it’s essential to understand the basics of their wireless functionality. Beats earbuds use Bluetooth technology to establish a wireless connection between the earbuds and your device, such as a smartphone, tablet, or computer.

Initial Pairing Setup

When using your Beats earbuds for the first time, they enter pairing mode right out of the case or when they’re powered on, making them discoverable to other devices.

Manual Pairing Mode

If your earbuds don’t automatically go into pairing mode, you might need to put them into this state manually. The process typically involves pressing and holding a button on the earbuds or the case.

how to connect beats wireless earbuds

Step-by-Step Pairing Process

Pairing your Beats wireless earbuds should be a straightforward task. Follow these step-by-step instructions to establish a connection between your earbuds and your chosen device.

Enable Pairing Mode

For first-time pairing, simply take your Beats earbuds out of the case. They should power on automatically and become visible to other Bluetooth devices. If not, consult the user manual to manually activate the pairing mode.

Activate Bluetooth on Your Device

Head to the Bluetooth settings on your phone, tablet, or computer, and make sure Bluetooth is turned on. Your device will begin searching for available devices to connect to.

Select Your Beats Earbuds

In the list of available devices, find the name of your Beats earbuds, usually displayed as “Beats” followed by the model. Click on this name to initiate the pairing. A confirmation message or sound will indicate that the pairing is successful.

Troubleshooting Tips

If you encounter issues with pairing, ensure that your earbuds are charged, within close proximity (usually 10 meters), and not obstructed by physical barriers. Restarting both the earbuds and the device or forgetting other devices in the Bluetooth settings might also resolve the issue.

Connecting to Additional Devices

Beats earbuds can be connected to more than one device, although not at the same time. This feature is convenient when you wish to switch between, say, listening to music on a laptop and answering a call on your smartphone.

Pairing with Another Device

Disconnect the earbuds from the current device by turning off its Bluetooth or unpairing them. Then, return the earbuds to pairing mode and follow the standard connection steps with the new device.

Switching Devices

To switch back to a previously paired device, disconnect the earbuds from the current one, then select the earbuds in the Bluetooth settings of the device you want to use.

Maintaining Your Connection

Once your Beats wireless earbuds are successfully connected, maintaining a solid connection is crucial for a seamless audio experience. Proper care and handling can help preserve your earbuds’ functionality.

Regular Updates

Keep the earbuds’ firmware up to date through the Beats app or the manufacturer’s website. Updates can improve connectivity and add new features.

Proper Storage

When not in use, store your earbuds in their case to keep them charged and protected, reducing the risk of misplacing them.

Cleaning Your Earbuds

Follow the manufacturer’s recommendations for cleaning your earbuds to prevent any build-up that could impact performance.

Battery Life Awareness

Monitor the battery life of both your earbuds and their charging case. Consistent charging ensures they are always ready for use.

Connecting your Beats wireless earbuds with your devices should be a straightforward and stress-free process. By adhering to this guide, you can effortlessly pair and manage your earbuds, making it easy to switch between devices and maintain a stable connection. Whether you’re hitting the gym, commuting, or relaxing, Beats earbuds provide the perfect combination of high-quality sound and wireless convenience, allowing you to enjoy your music or calls wherever life takes you.

How to Pair JBL Wireless Earbuds Effortlessly

JBL is a renowned name in the audio industry, widely recognized for creating high-quality wireless earbuds that offer impressive sound quality and convenience. Pairing JBL wireless earbuds with your device can enhance your listening experience, whether you’re enjoying music, taking calls, or immersing yourself in an audiobook. However, users may sometimes struggle with the pairing process. This guide is designed to help you pair your JBL wireless earbuds effortlessly with any Bluetooth-enabled device, ensuring a smooth and frustration-free setup so that you can start enjoying your audio content without delay.

Understanding JBL’s Pairing Process

Before diving into the pairing process, it’s important to understand the fundamentals of how JBL wireless earbuds connect to your device. JBL earbuds are equipped with Bluetooth technology, which enables them to communicate wirelessly with a vast array of devices, from smartphones and tablets to laptops and smart TVs.

Initial Setup

For the first-time pairing, JBL earbuds enter the pairing mode automatically when they are powered on after being taken out of the charging case. This makes them discoverable to nearby Bluetooth-enabled devices.

Manual Pairing Mode

If your earbuds don’t automatically enter pairing mode, you may need to manually activate this feature by pressing and holding the power button or the touch-sensitive area on the earbuds, as specified in your model’s user manual.

how to pair jbl wireless earbuds

Step-by-Step Pairing Instructions

Pairing your JBL wireless earbuds is typically a straightforward task that can be done in a few simple steps. Follow these instructions to connect your earbuds to your preferred device.

Power On and Enter Pairing Mode

Take your JBL earbuds out of the charging case; they should automatically power on and enter pairing mode. If not, manually trigger pairing mode as described above.

Enable Bluetooth on Your Device

On your smartphone, tablet, or computer, navigate to the Bluetooth settings and ensure Bluetooth is turned on. Your device will start searching for available Bluetooth connections.

Select Your JBL Earbuds

Look for the name of your JBL earbuds in the list of available devices. It may appear as “JBL” followed by the model number. Tap on the name to connect. Once successfully paired, you should hear a confirmation tone or voice prompt from the earbuds.

Troubleshooting

If your earbuds fail to pair, make sure they are fully charged, within range (usually within 33 feet or 10 meters), and that there are no obstacles interfering with the Bluetooth signal. Also, consider restarting both the earbuds and the device or forgetting other Bluetooth devices that may be causing conflicts in the pairing process.

Pairing with Multiple Devices

JBL wireless earbuds can be paired with more than one device, though not simultaneously. This multi-device pairing feature allows you to switch between devices easily, such as going from listening to music on your tablet to taking a call on your smartphone.

Pairing with a Second Device

To pair your earbuds with another device, first disconnect them from the current one by turning off Bluetooth or unpairing them. Then, put the earbuds back into pairing mode and follow the standard pairing process with the new device.

Switching Between Paired Devices

To switch back to a previously paired device, you may need to disconnect the earbuds from the current device and then select the earbuds from the Bluetooth settings of the device you wish to connect to.

Maintaining and Managing Your Connection

Once your JBL wireless earbuds are paired, maintaining a stable connection is key to enjoying uninterrupted audio. Proper care and management of your earbuds will ensure they remain in top condition and ready to use whenever you need them.

Regular Updates

Keep your earbuds’ firmware updated through the JBL app if available for your model. This can help improve connectivity and overall performance.

Proper Storage

When not in use, store your earbuds in the charging case to keep them charged and protected. This also minimizes the risk of losing one or both earbuds.

Cleaning

Regularly clean your earbuds according to the manufacturer’s instructions to prevent build-up that could affect sound quality and connectivity.

Battery Life

Be mindful of the battery life of both your earbuds and the charging case. Regular charging ensures that your JBL wireless earbuds are always ready for use.

Pairing JBL wireless earbuds with your devices should be a hassle-free process that enhances your audio experience without the clutter of wires. By following this guide, you can effortlessly connect your earbuds, switch between multiple devices, and manage your connection to ensure continuous, high-quality sound. Whether you’re working out, commuting, or relaxing at home, your JBL wireless earbuds are the perfect audio companion, providing the freedom and flexibility to enjoy your favorite content anytime, anywhere.

How to Fix Earbuds That Work on One Side: Wireless Troubleshoot

Wireless earbuds are synonymous with contemporary convenience, allowing listeners to enjoy music, take calls, and engage with audio content without the constraints of wires. However, they’re not without their issues—one common problem is when only one earbud produces sound while the other remains silent. This article outlines practical steps to diagnose and fix wireless earbuds when audio is only coming from one side. By following this guide, you can potentially save yourself the time and expense of replacing your earbuds or seeking professional repair services.

Identifying the Source of the Issue

Check the Earbud Battery Levels

The first step in troubleshooting is to ensure that both earbuds are adequately charged. Uneven battery levels could lead to one earbud cutting out. Place both earbuds in the charging case and ensure that the case is charged as well. If one earbud has a significantly lower battery level than the other, it might not power on. Fully charge both earbuds and try using them again to see if this resolves the issue.

Inspect for Physical Damage

Visually inspect the non-functioning earbud for any signs of physical damage. This includes checking for any cracks, loose components, or debris blocking the sound outlet. Physical damage can result from dropping the earbuds, stepping on them, or other impacts. If you find any physical damage, the earbud may require professional repair or replacement.

how to fix earbuds that work on one side  wireless

Ensuring Proper Connectivity and Settings

Re-establish the Bluetooth Connection

Sometimes, the issue might be related to the Bluetooth connection rather than the earbuds themselves. To troubleshoot, disconnect your earbuds from the device by forgetting the earbuds in your Bluetooth settings. Then, restart your device and earbuds, put the earbuds back into pairing mode, and reconnect them to your device. This can often resolve connectivity issues that may result in audio playing from only one earbud.

Verify Audio Balance Settings

On some devices, audio balance settings allow you to adjust the volume for the left and right channels. If this balance is accidentally shifted all the way to one side, it could result in sound coming from only one earbud. Check the audio balance settings on your device to ensure they are centered and equally balanced between both earbuds.

how to fix earbuds that work on one side  wireless

Software-Related Fixes and Updates

Firmware Updates

Manufacturers may release firmware updates that can fix bugs or improve the functionality of your wireless earbuds. Check the manufacturer’s website or companion app for any available firmware updates for your earbuds. If an update is available, follow the instructions provided to update the firmware, which could resolve the one-sided audio issue.

Resetting the Earbuds

Most wireless earbuds come with an option to reset them to their factory settings. A reset can often fix issues that are not resolved by charging or reconnecting. The reset process varies depending on the brand and model, so refer to the user manual or the manufacturer’s website for specific instructions on how to perform a reset on your earbuds.

how to fix earbuds that work on one side  wireless

Physical Cleaning and Care for Earbuds

Clean the Earbud Mesh

Wax, dust, and other debris can accumulate on the earbud mesh and block the sound. Use a dry, soft-bristled brush or a specialized earbud cleaning tool to gently clean the mesh. Be careful not to push debris further into the earbud.

Check for Internal Debris

If the earbud is still not working after cleaning the mesh, there might be debris inside the earbud itself. In some cases, you can carefully remove the ear tip or mesh cover to clean inside, but this should be done cautiously to avoid damaging the earbud. If you are unsure about disassembling any part of the earbud, it’s best to seek professional help.

how to fix earbuds that work on one side  wireless

Advanced Troubleshooting Techniques

Testing with Different Devices

It’s important to rule out the possibility that the issue is not with the earbuds but with the device they are connected to. Connect your wireless earbuds to a different smartphone, tablet, or computer to see if the problem persists. If audio plays correctly from both earbuds on a different device, the issue may be related to Bluetooth compatibility or a specific setting on the original device. Additionally, testing with different audio sources or apps can help determine if the issue is related to a particular file or streaming service.

Seeking Professional Help

If all home troubleshooting efforts fail, it may be time to seek professional assistance. Contact the customer support of your earbuds’ brand for advice or to arrange a repair. If your earbuds are under warranty, you might be eligible for a free repair or replacement. Even if the warranty has expired, the manufacturer may offer a repair service for a fee. Alternatively, local electronics repair shops can often provide diagnostics and repair services for wireless earbuds.

Preventative Measures and Best Practices

Maintaining Firmware and Software

To prevent future issues with your wireless earbuds, ensure that you regularly check for and install firmware updates provided by the manufacturer. These updates not only fix known bugs but can also introduce improvements and new features. Additionally, keep the software on your connected devices up to date, as outdated operating systems can lead to compatibility and performance issues.

Proper Storage and Handling

Proper care and storage of your wireless earbuds are critical for their longevity. Always store your earbuds in their charging case when not in use to protect them from physical damage and to keep the battery charged. Avoid exposing your earbuds to extreme temperatures, moisture, or direct sunlight. Additionally, handle your earbuds gently, avoiding drops or unnecessary force that could damage internal components. By following these best practices, you can extend the life of your wireless earbuds and reduce the likelihood of encountering issues where only one earbud is functional.

When your wireless earbuds are only working on one side, it can be a frustrating experience. However, by systematically checking for battery issues, inspecting for physical damage, ensuring proper connectivity, updating firmware, performing resets, and cleaning, you can often resolve the problem without the need for professional repair or replacement. Regular maintenance and care can prevent many of these issues from occurring in the first place, ensuring a long and functional life for your wireless earbuds. If these steps don’t fix the issue, it may be time to contact the manufacturer for further assistance or consider investing in a new pair of earbuds.

How to Pair JVC Wireless Earbuds Quickly and Easily

In the current digital age, wireless earbuds are the go-to choice for many music enthusiasts, fitness buffs, and professionals alike. JVC, a well-known brand in the audio industry, offers a range of wireless earbuds that combine quality sound with the convenience of wireless connectivity. However, for many first-time users, pairing these devices with their smartphones, tablets, or other Bluetooth-enabled devices can seem daunting. This guide aims to simplify the pairing process, ensuring that you can quickly and easily connect your JVC wireless earbuds and immerse yourself in your favorite audio experiences.

Step 1: Preparing Your JVC Wireless Earbuds for Pairing

Charging Your Earbuds

Before pairing, it’s crucial to ensure your JVC wireless earbuds are fully charged. This step prevents any interruptions during the pairing process and helps provide the best first-use experience. Insert the earbuds into the charging case and wait until the LED indicators confirm they are fully charged, which typically involves a steady light or the cessation of a blinking pattern.

Entering Pairing Mode

Once charged, remove your earbuds from the case, which, for many JVC models, automatically activates their power and puts them into pairing mode. If this does not occur, you may need to turn them on manually. This step usually involves pressing and holding a button on the earbuds for a few seconds until LED indicators flash, signaling that they’re ready to pair. Check the user manual for your specific JVC model for precise instructions on activating pairing mode.

how to pair jvc wireless earbuds

Step 2: Initiating the Pairing Process on Your Device

Locating the Bluetooth Settings

To connect your JVC wireless earbuds, you’ll need to access the Bluetooth settings on your smartphone or device. Access Bluetooth settings on iOS devices by navigating to ‘Settings’ > ‘Bluetooth’, and on Android devices, by going to ‘Connections’ or ‘Connected Devices’. For laptops or tablets, locate the Bluetooth settings within the system settings or control panel.

Selecting JVC Earbuds from the Device List

With Bluetooth enabled, your device will search for nearby devices ready for pairing. Look for the name of your JVC earbuds in the list (the name may vary based on the model) and select it. If a passcode is required, the default is often ‘0000’ or ‘1234’. After selecting your earbuds, a confirmation message may appear, and upon acceptance, the earbuds should connect to your device, indicated by a sound cue or change in the LED indicator.

how to pair jvc wireless earbuds

Step 3: Confirming and Troubleshooting the Connection

Ensuring a Successful Connection

Once you’ve selected your JVC earbuds from the device list, it should only take a few moments for the connection to establish. Successful pairing is typically confirmed by an audible beep in the earbuds, a voice prompt, or a steady LED light. You should also see the earbud’s status change to ‘Connected’ in your device’s Bluetooth menu.

Addressing Pairing Challenges

Should you encounter any issues during pairing, such as the earbuds not appearing on the device list or the connection failing, there are a few steps you can take. Start by ensuring that your earbuds are indeed in pairing mode. If they are, try turning your device’s Bluetooth off and on again. If the issue persists, reset your earbuds according to the instructions in the user manual, which often involves holding down a button for a certain duration. Additionally, make sure that your earbuds aren’t already connected to another device, which can sometimes prevent new connections.

how to pair jvc wireless earbuds

Step 4: Optimizing Your JVC Wireless Earbuds Experience

Personalizing Settings and Controls

After successfully pairing your JVC wireless earbuds, take the time to familiarize yourself with their features and controls. Use the touch control capabilities or dedicated buttons on many JVC earbuds to answer calls, control music playback, and access voice assistants. Some models also have companion apps that offer equalizer settings and other customizable features to enhance your listening experience.

Maintaining Your Earbuds

To get the most out of your JVC wireless earbuds, it’s important to maintain them properly. Store your earbuds in their charging case when not in use to protect them and keep them charged. Keep the earbuds and charging contacts clean and free from debris to ensure the best charging and audio performance. With proper care and regular firmware updates, if available, your JVC wireless earbuds will provide a reliable and enjoyable audio experience for a long time.

how to pair jvc wireless earbuds

Enhancing Connectivity with Multiple Devices

Switching Between Paired Devices

Once your JVC wireless earbuds are paired with one device, they can typically remember several paired devices, making it easier to switch between them. To connect to a different already-paired device, you may need to disconnect the earbuds from the current device first, either by turning off Bluetooth on the device or selecting ‘Disconnect’ in the Bluetooth settings. Then, activate the Bluetooth on the second device and select your JVC earbuds to establish the new connection. This feature is particularly handy if you use your earbuds with multiple devices, such as a phone and a laptop.

Managing Connections in Complex Environments

In environments with many Bluetooth devices or potential sources of interference, your wireless earbuds might experience connection stability issues. To manage this, try to minimize the distance between your earbuds and the paired device. Additionally, avoid physical obstructions, such as walls or furniture, that can weaken the Bluetooth signal. If you’re in a public place with many overlapping Bluetooth signals, consider turning off Bluetooth on devices you’re not actively using to reduce interference.

Maximizing the Potential of Your JVC Earbuds

Exploring Advanced Features

Some JVC wireless earbuds come equipped with advanced features like ambient sound modes, which allow external noise in, giving you greater awareness of your surroundings—a useful feature for outdoor runners or commuters. Other models may include water resistance, making them suitable for workouts or inclement weather. Take the time to explore these features to fully utilize the capabilities of your earbuds, ensuring they align with your lifestyle and usage scenarios.

Pairing JVC wireless earbuds with your devices should not be a complex task. By following this straightforward guide, you can quickly and effortlessly connect your earbuds and indulge in the wireless audio experience that JVC provides. From initial setup and pairing to troubleshooting common issues and optimizing your listening sessions, these steps will help ensure that your wireless earbuds work seamlessly with your lifestyle. Whether you’re eager to dive into a new album, catch up on podcasts, or handle hands-free calls, your JVC wireless earbuds are now ready to deliver excellent audio quality without the limitations of wires.

Unraveling the Mystery: How Do Wireless Earbuds Work?

Wireless earbuds have become an integral part of the modern listener’s arsenal, providing convenience and freedom from the constraints of traditional wired headphones. Despite their widespread use, the inner workings of these compact audio devices remain a mystery to many. In this article, we will dissect the technology behind wireless earbuds, explore how they connect to your devices, and examine the sound production mechanisms that allow these small accessories to deliver high-quality audio. Understanding the functionality of wireless earbuds can enhance your appreciation of these innovative devices and help you make informed decisions when purchasing or using them.

The Basics of Wireless Connectivity

Bluetooth Technology

At the core of wireless earbud functionality is Bluetooth technology. Bluetooth is a wireless communication standard that allows data to be exchanged over short distances using radio waves. Earbuds equipped with Bluetooth can connect to various devices, including smartphones, tablets, and computers, without the need for physical cables. The earbuds and the audio source pair by exchanging data packets within the 2.4 GHz ISM (Industrial, Scientific, and Medical) band, a frequency range reserved for this type of communication.

Pairing and Data Transmission

Wireless earbuds connect to your device through a process known as “pairing.” During this process, the earbuds and the device recognize each other and establish a secure connection. Once paired, the device transmits audio data to the earbuds, typically using a protocol known as Advanced Audio Distribution Profile (A2DP). This protocol compresses the audio file, sends it to your earbuds, and decompresses it to produce sound. The quality of the audio can vary depending on the Bluetooth version and the codecs supported by both the earbuds and the transmitting device.

how do wireless earbuds work

Sound Production and Quality

Audio Drivers and Sound Reproduction

The heart of any earbud is its audio driver – the component that converts electrical signals into sound. Most wireless earbuds use dynamic drivers, which consist of a diaphragm, voice coil, and magnet. When the audio signal reaches the driver, it creates a varying magnetic field that causes the diaphragm to vibrate, producing sound waves. The size and material of the driver, along with the overall design of the earbud, play significant roles in the sound quality, affecting the bass response, midrange clarity, and treble precision.

Noise Cancellation and Enhancement Technologies

To improve the listening experience, many wireless earbuds feature noise cancellation technology. Active Noise Cancellation (ANC) works by using microphones to pick up external noise and creating “anti-noise” sound waves that cancel out the unwanted sounds. Passive noise isolation, on the other hand, involves creating a tight seal in the ear canal to physically block outside noise. Some earbuds also include sound enhancement features such as EQ customization, spatial audio, and personalized hearing profiles that can be adjusted via apps for a more tailored sound experience.

how do wireless earbuds work

Battery Life and Charging Solutions

Powering Wireless Earbuds

Wireless earbuds rely on built-in rechargeable batteries for power. The battery life of earbuds varies widely based on factors such as size, Bluetooth version, and additional features like ANC. Manufacturers strive to balance battery capacity with the compact size of earbuds, often resulting in a trade-off between longevity and wearability. Battery life information is key when considering your usage patterns and needs.

Charging Cases and Methods

To keep the earbuds charged, most come with a portable charging case. This case not only stores the earbuds but also recharges them, often providing multiple full charges before the case itself needs to be recharged. Some cases offer features like quick charging, where a short charging time can provide hours of playback. Additionally, there are cases with wireless charging capability, allowing for convenient charging without the need for cables.

how do wireless earbuds work

Troubleshooting and Maintenance

Common Connection Issues

Despite the convenience of wireless technology, users may occasionally face issues such as dropped connections, pairing difficulties, or inconsistent audio quality. These problems can often be resolved through simple troubleshooting steps like resetting the earbuds, updating the firmware, or checking for interference from other wireless devices. Understanding the common sources of these issues can help maintain a stable and reliable connection.

Caring for Your Earbuds

To ensure the longevity and performance of your wireless earbuds, proper care and maintenance are essential. This includes regular cleaning to remove earwax or debris, storing the earbuds in their case when not in use, and avoiding exposure to extreme temperatures or moisture. By taking good care of your earbuds, you can enjoy high-quality audio performance over their lifespan.

how do wireless earbuds work

Optimizing Wireless Earbud Performance

Sound Customization and Hearing Health

To optimize your listening experience, many wireless earbuds offer customization options for sound output. Through companion apps, listeners can alter equalizer settings to boost bass, enhance vocals, or create a balanced soundscape that suits their personal preferences. Advanced models may even feature hearing tests that calibrate audio according to your unique hearing profile, ensuring that you get the most out of your earbuds without compromising your hearing health. Protecting your ears is crucial, and utilizing moderate volume levels is recommended to prevent long-term damage. Some earbuds even come with ambient sound modes that allow external noise to filter through, keeping you aware of your surroundings and reducing the need to crank up the volume.

Seamless Integration with Multiple Devices

For those who use earbuds with more than one device, the ease of switching between a phone, tablet, or computer can be a significant convenience. Modern wireless earbuds are designed with multi-device connectivity in mind, and some even support seamless transitions between different operating systems. Quick pairing features and the ability to remember multiple devices make it easier for listeners to switch audio sources without going through the pairing process each time. Additionally, many earbuds now come with dual or single earbud use capability, allowing users to use one earbud independently while the other remains in the charging case. This feature not only extends battery life but also offers flexibility for those who need to stay alert to their environment or prefer mono audio for calls.

how do wireless earbuds work

Wireless earbuds offer a combination of advanced technology and sophisticated design to provide users with an immersive and convenient audio experience. From the basics of Bluetooth connectivity and sound production to the intricacies of battery life and device maintenance, understanding how wireless earbuds work can help users get the most out of their devices. As technology continues to evolve, we can expect even greater advancements in wireless earbud capabilities, further unraveling the mystery behind these compact yet powerful gadgets. Whether you’re a tech enthusiast or simply someone who enjoys listening to music on the go, the knowledge of how your wireless earbuds function adds another layer of enjoyment to your daily soundtrack.