Protect & Pay: The Best OPPO Phone Card Cases for 2023
OPPO smartphones are renowned for their sleek design and innovative features. As they become an essential part of our daily lives, protecting them while enhancing convenience becomes paramount. A card case for your OPPO phone can offer both security for your device and a handy way to carry essential cards. Here, we look at the best OPPO phone card cases for 2023 that blend style, functionality, and durability.
Durability Meets Style: Top Material Choices
Premium Leather for Elegance and Longevity
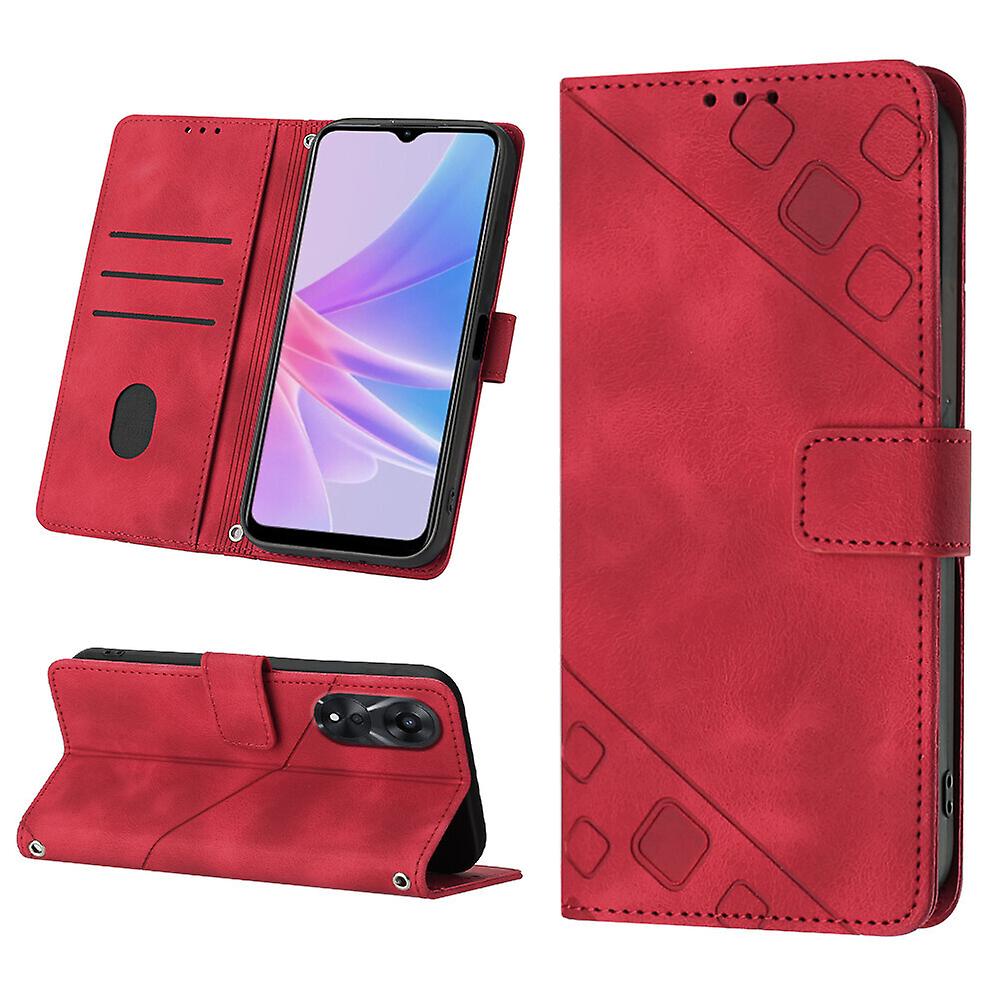
Leather cases are timeless, bringing a touch of elegance and sophistication to your OPPO phone while offering durability. They often age beautifully, acquiring a unique patina over time. For 2023, look for premium leather card cases that provide a soft lining to cradle your OPPO phone and prevent scratches. These should come with snug card slots that keep your cards securely in place.
Hard-Shell and Silicone Options
If leather isn’t your style or you prefer something more modern and less prone to wear, hard-shell and silicone cases are great alternatives. These materials offer excellent shock absorption in case of drops. Check out cases that combine a hard exterior with a soft inner layer for the best protection. The best ones also offer a grip-friendly texture to reduce the chance of slipping from your grasp.
Convenience at Your Fingertips: Case Features
Integrated Card Storage for Essential Items
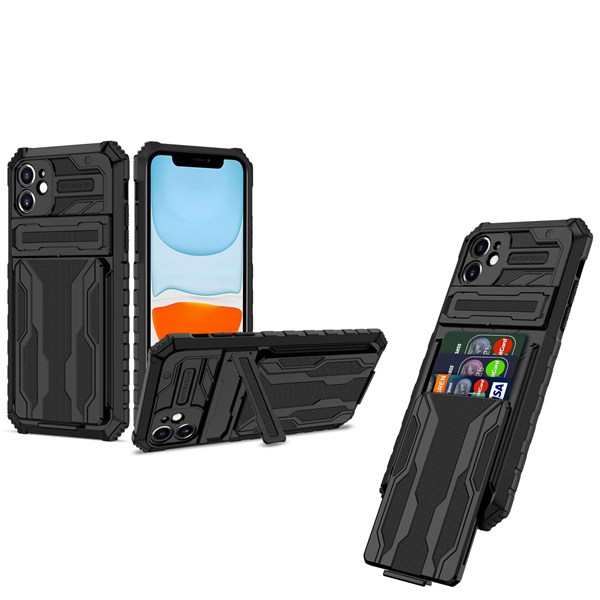
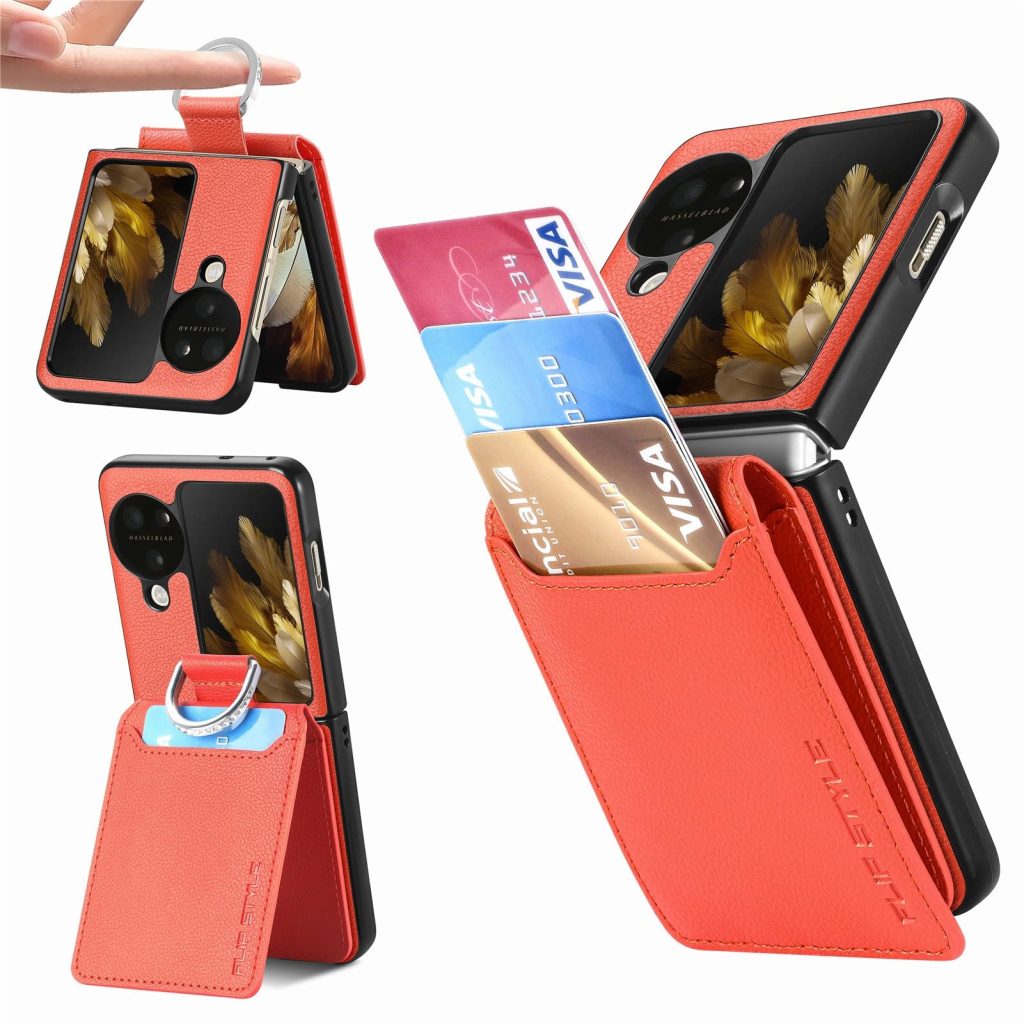
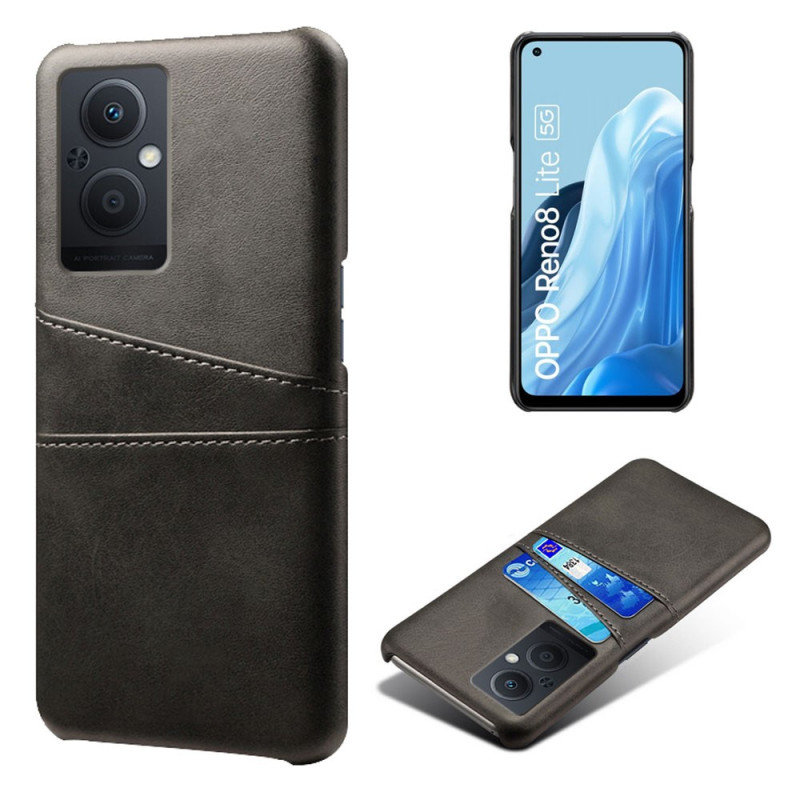
The core functionality of a phone card case is to store your cards conveniently. Some of the best cases for OPPO phones in 2023 include those with hidden card compartments or slots on the back. Ideally, these cases should hold at least two cards, allowing you to carry an ID and a credit card for quick trips out without needing a wallet.
Kickstand Feature for Hands-Free Viewing
Many users value the dual functionality of a case that not only stores cards but also enhances the viewing experience. Cases with a built-in kickstand enable hands-free video watching or video chatting. Those that secure your cards without adding too much bulk and still allow you to enjoy your OPPO phone’s sleek design are top picks for 2023.
Protecting Your Data: Security Essentials for Your Case
RFID Blocking Technology for Peace of Mind
In today’s digital age, protecting your data is just as important as protecting your phone. Many card-holding cases now come equipped with RFID blocking technology to safeguard your credit cards from unauthorized scanning. When shopping for an OPPO phone card case, consider those with this added layer of protection to keep your personal information safe.
Tight and Secure Card Slots
Security isn’t just about digital threats; it also concerns the physical security of your cards. The best OPPO phone card cases have tight and secure card slots that ensure your cards stay put even if you’re active or the phone is dropped. Avoid cases that offer a loose fit, as cards can slip out unnoticed and be lost or stolen.

Balancing Form and Function: Accessory Integration
Maintaining Access to All Phone Features
Your OPPO phone card case should complement your device, not hinder its functionality. Look for cases that provide easy access to buttons, charging ports, and the camera. Cases that require you to remove the phone for use or charging are less convenient and might not be the ideal choice for the best OPPO phone card case in 2023.
Compatibility with Wireless Charging
As wireless charging becomes more prevalent, it’s important to find a card case that doesn’t interfere with this feature. Some card-holding cases can be too thick or have metal parts that disrupt the wireless charging process. The best options allow you to charge your phone wirelessly without removing the case, promoting a seamless experience.
Streamlining Design and Practicality
Uncompromised Slimness for Pocket-Friendly Use
A common concern when adding a card case to your OPPO phone is the potential bulk it could introduce, making it less pocket-friendly. The best phone card cases for 2023 are those that manage to blend security with slimness. They should add minimal bulk to your phone while still providing a solid layer of protection and a secure hold for your cards. The ideal case would allow for the phone’s inherent slim design to shine through, ensuring it still fits comfortably in your hand or pocket.
Secure Closures for Card Safety
Some OPPO phone card cases feature secure closures like magnetic clasps or elastic bands that ensure the card compartment stays shut. This feature is particularly important if you tend to keep more than just a card or two in your case. It’s an added security measure that prevents cards from falling out unnoticed and gives an extra level of protection against potential thieves or when the phone accidentally drops.
Adapting to User Preferences
Offering a Range of Styles and Textures
Everyone has different tastes, and the best OPPO phone card cases cater to a wide range of aesthetic preferences. Whether you’re looking for bold colors, clear cases that show off your phone’s design, or professional-looking textures, there’s likely a card case that fits your style. The top choices in 2023 provide users with a variety of textures, from smooth and sleek to rugged and grippy, ensuring you can find a case that feels right in hand.
Personalization for a Unique Touch
Personalization adds a unique touch to your phone case, making it not just a protective accessory, but also an expression of your personal style. Look for brands that offer customization options, whether it’s monogramming your initials, choosing case colors, or even custom-printed designs. A personalized case is also a great gift idea, showing thoughtfulness and consideration for the recipient’s style and preferences.
Choosing the right card case for your OPPO phone can significantly enhance your daily routine by offering protection for your device and convenience for carrying your essential cards. The best OPPO phone card cases for 2023 combine style, functionality, and heightened security features without compromising on design or the seamless user experience of your device. Whether you’re drawn to the classic appeal of leather, the modern resilience of hard-shell materials, or the flexibility of silicone, there’s a card case out there that meets your needs. Ensure that whatever case you choose, it aligns with the way you use your phone and supports all the features you love, including wireless charging where appropriate. Protect your OPPO phone and pay with ease using a card case that reflects the very best 2023 has to offer.