Exploring the World of Apple Wireless Earbuds
Apple has been at the forefront of innovative technology, and its line of wireless earbuds is no exception. From the pioneering AirPods to the advanced AirPods Pro and the premium AirPods Max, Apple offers a range of wireless earbuds that cater to various preferences and needs. In this comprehensive guide, we will delve into the design and usability. We will examine the audio quality and features, discuss the ease of connectivity with Apple devices, and assess the overall value proposition of Apple’s wireless earbuds. Whether you’re a loyal Apple user, this exploration will cater to you. It will also serve music enthusiasts. Additionally, it will benefit someone in search of cutting-edge wireless earbuds. This guide aims to provide valuable insights into Apple’s offerings in the personal audio space.
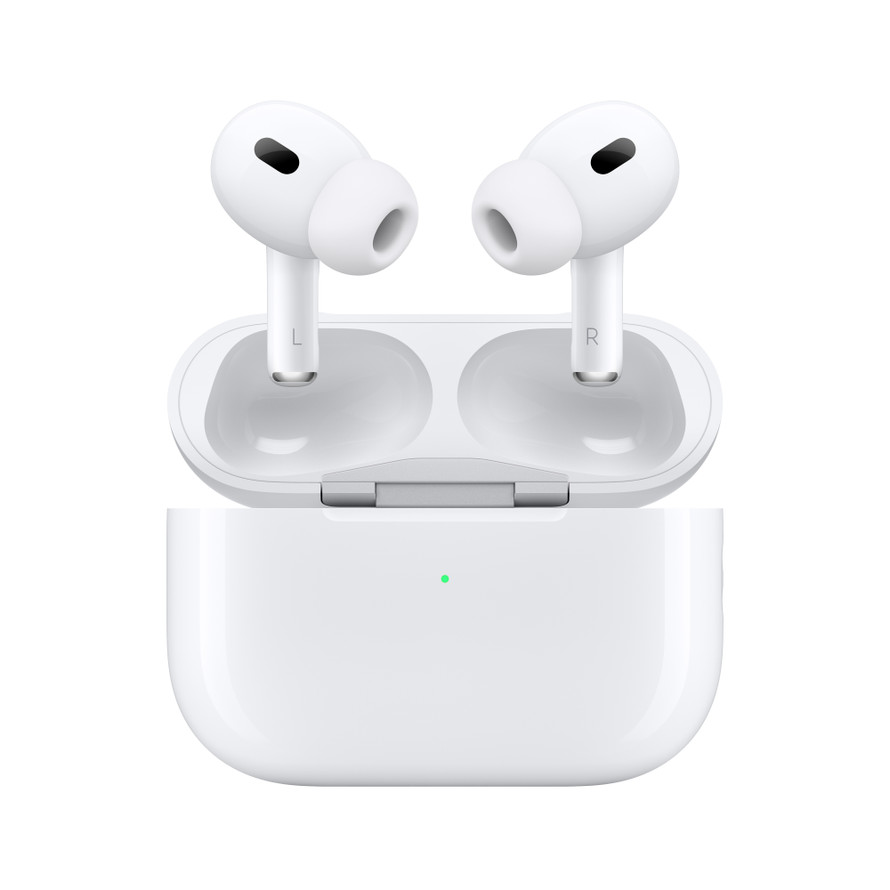
Design and Usability: The Hallmark of Apple’s Earbuds
Ergonomic Design and Intuitive Interface
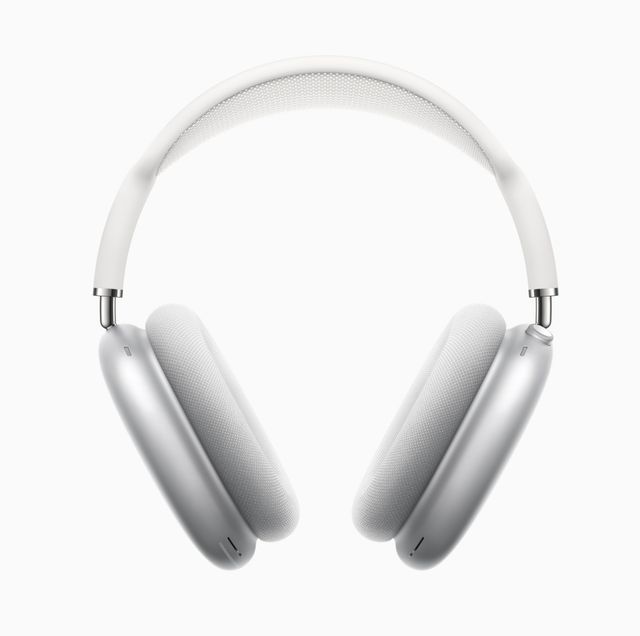
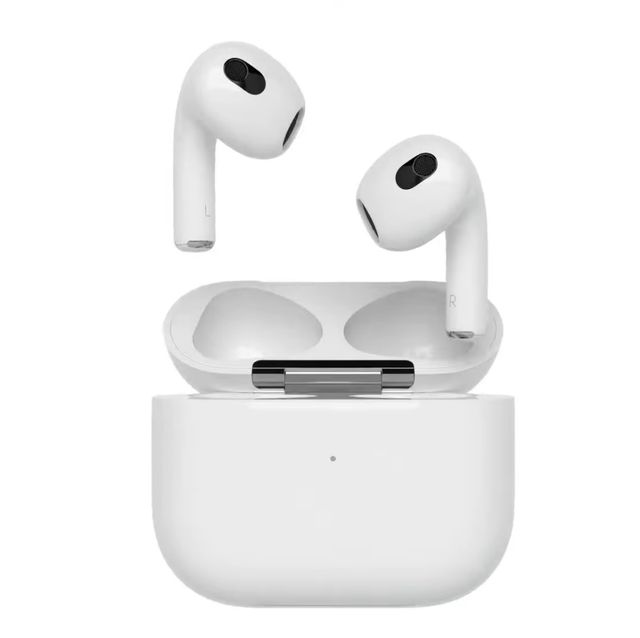
Apple’s wireless earbuds are acclaimed for their sleek design and comfortable fit. The original AirPods introduced an iconic stem design. The AirPods Pro offer a more compact form factor. They come with silicone tips for a customizable fit. The silicone tips also enhance noise isolation. The AirPods Max are over-ear headphones, not earbuds. They continue the tradition with a unique mesh canopy. They also have memory foam ear cushions. Apple’s design ethos prioritizes comfort and style across the board. This ensures the earbuds are both an auditory and a fashion statement. Users can expect an intuitive interface with touch and force sensors that allow seamless control over music playback, calls, and interaction with Siri.
Adaptability and User-Centric Features
Apple wireless earbuds are built with the user in mind, featuring adaptive technology that personalizes the listening experience. The AirPods and AirPods Pro come with automatic ear detection. This feature plays and pauses audio based on the earbuds’ position in your ears. The AirPods Pro introduces Transparency mode. This mode allows users to hear their surroundings without removing the earbuds. The AirPods Max introduces spatial audio. They also feature dynamic head tracking. These capabilities provide a theater-like experience. This experience is for content recorded in 5.1, 7.1, and Dolby Atmos formats.
Audio Quality and Features: The Apple Sound Experience
Superior Sound Clarity and Immersive Audio
Apple’s wireless earbuds offer a sound quality that complements the company’s reputation for polished products. The audio output is characterized by clear vocals, rich bass, and balanced midranges. The AirPods Pro and AirPods Max feature active noise cancellation (ANC). This technology minimizes background noise. It delivers immersive sound. Computational audio capabilities enhance their listening experience. The integrated H1 chip fine-tunes the sound in real time. This tuning aims for optimal sound quality.
Customization and Hearing Health
Acknowledging that every user’s hearing is unique, Apple provides options to customize the sound profile. The Ear Tip Fit Test for AirPods Pro helps users choose the best fitting ear tips for optimal sound quality and comfort. Additionally, Apple’s Health app includes features to monitor your audio exposure. It provides recommendations to protect your hearing health. These integrations reflect Apple’s commitment to delivering high-quality audio. They also show a dedication to promoting responsible and sustainable listening habits.
In conclusion, Apple’s wireless earbuds offer a sophisticated design. They provide high-quality audio. They also ensure unparalleled connectivity. This combination makes them a top contender in the personal audio space. They may command a premium price. However, for many, the investment is justified. The justification comes from the comprehensive and intuitive experience provided. You might opt for the standard AirPods. Or you might choose the noise-canceling AirPods Pro. You could even go for the luxurious AirPods Max. Apple designs its wireless earbuds to elevate your audio experience. They do this with flair and ingenuity. These qualities are hallmarks of the brand.