The Latest Bose Earbuds for Sport Enthusiasts
Bose, a brand synonymous with exceptional sound quality, has consistently been at the forefront of audio technology. Recognizing the specific needs of sports enthusiasts, Bose has developed earbuds that not only deliver premium sound but also address the challenges faced by athletic users. From sweat and weather resistance to secure fits that keep the buds in place, Bose sport earbuds are designed to enhance your workout experience. In this article, we will explore the latest offerings from Bose that cater to sport enthusiasts, detailing their innovative features, sound quality, and design elements that make them stand out in a crowded market.
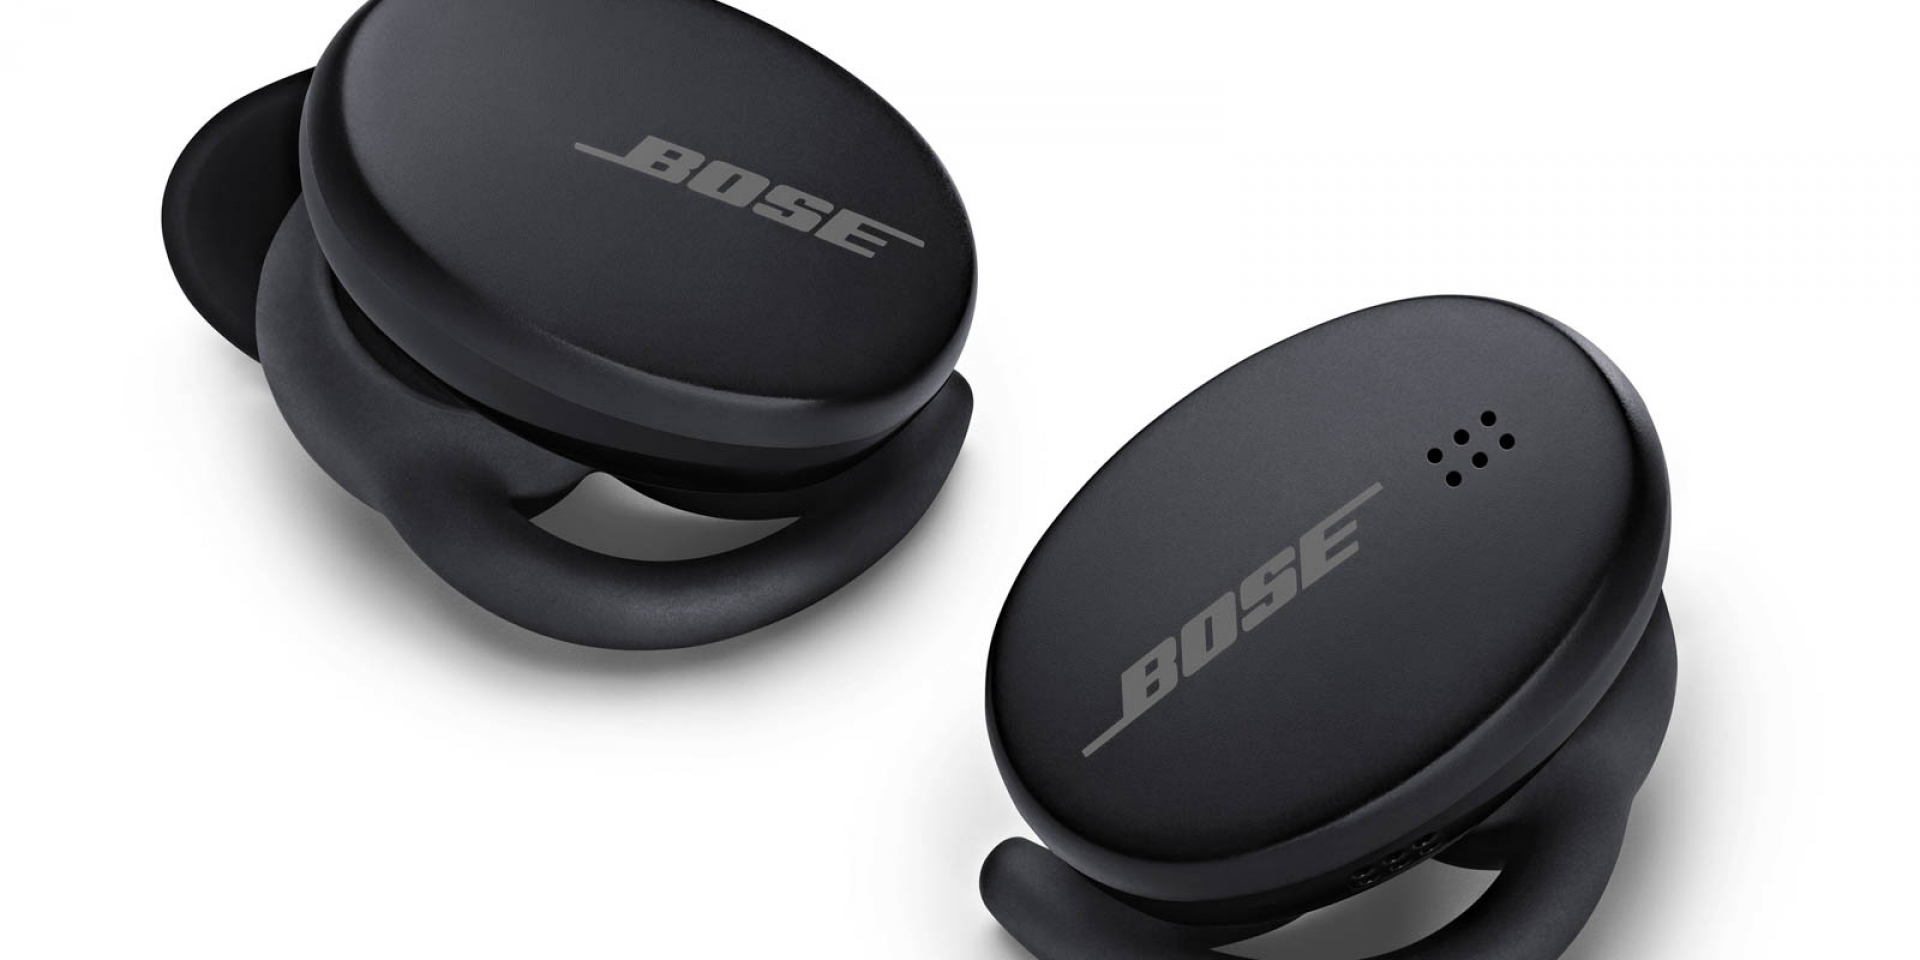
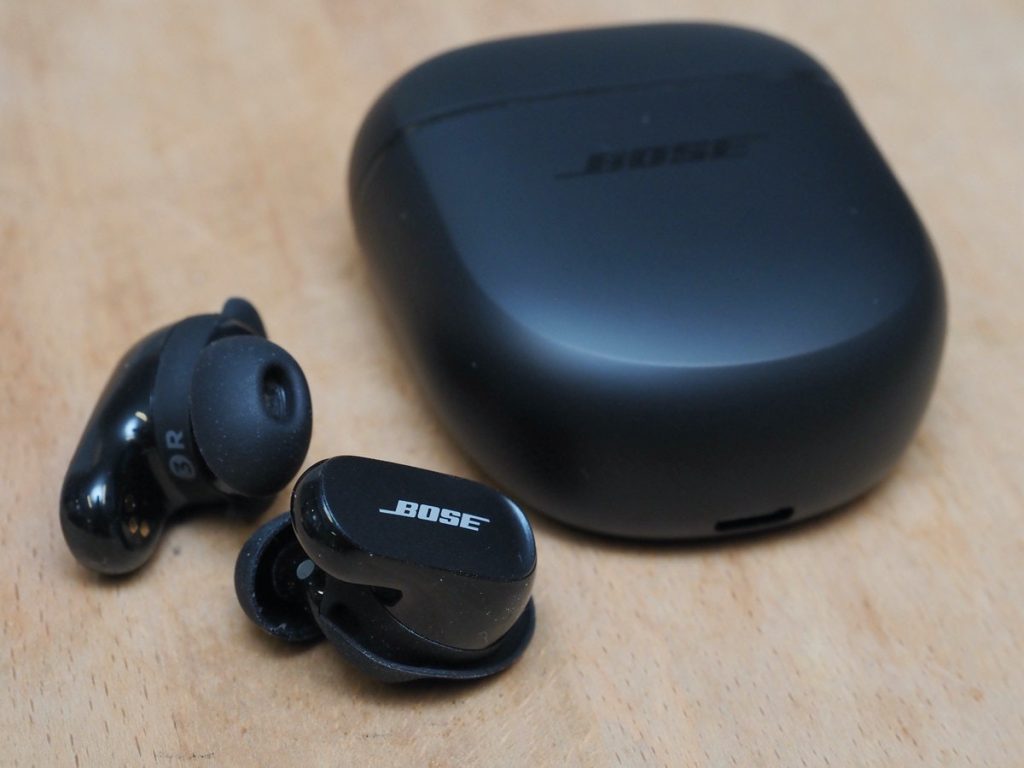
Bose Sport Earbuds: A Blend of Comfort and Stability
Designed for movement and comfort, Bose Sport Earbuds offer a secure fit that ensures they stay in place during the most intense workouts. The unique StayHear Max tips, crafted from soft silicone material, conform to the shape of your ear, offering both comfort and a firm grip. This design not only keeps the earbuds secure but also helps to seal in the audio, delivering rich, consistent sound.
Innovative Fit:
- The proprietary StayHear Max tips come in three sizes to ensure a perfect fit for every user.
- The winged tips tuck under the ridge of your ear for added stability.
- Bose Sport Earbuds are rigorously tested to withstand the demands of all types of exercises without falling out.
Comfort for Long Training Sessions:
- The lightweight design minimizes ear fatigue, allowing for extended use without discomfort.
- The materials used are smooth and gentle on the skin, preventing irritation even in conditions where sweat is involved.
- The earbuds are crafted with easy-to-clean surfaces, ensuring hygiene and durability.
Advanced Audio Technology for Peak Performance
Bose doesn’t compromise on sound quality, even in its sports-focused product line. The latest Bose Sport Earbuds feature an advanced acoustic port design and premium, high-efficiency drivers that produce powerful, balanced sound. They also incorporate Volume-optimized Active EQ technology, which automatically boosts lows and highs to maintain consistent balance in music, videos, and voices at any listening level.
High-Quality Sound:
- The earbuds feature Bose’s signature sound profile, renowned for clarity and depth, which is especially motivating during workouts.
- The earbuds deliver bass powerfully and dynamically, providing the right rhythm and drive for your exercise.
Volume-Optimized EQ:
- No need to tweak settings; the Active EQ ensures your music sounds great whether you’re warming up or in the midst of a high-intensity interval.
- Voices and instruments are rendered with exceptional clarity, allowing you to appreciate the fine details in your music.

Durability and Water Resistance for Every Workout
Understanding that sports enthusiasts will expose their earbuds to sweat, rain, and the elements, Bose has built the Sport Earbuds to be resilient and reliable. Bose rigorously tests the earbuds to ensure IPX4-rated water resistance, withstanding splashing water from any direction for at least 5 minutes. Users can confidently take their workout outdoors, no matter the weather conditions.
Built to Last:
- The materials chosen for the earbuds are not only comfortable but also resistant to corrosion from sweat and humidity.
- The IPX4 rating provides assurance against splashes and sweat, which means you can push your limits without worrying about damaging your earbuds.
Engineered for Outdoor Activities:
- Bose designs the Sport Earbuds to function optimally in a variety of environments, from sun-drenched trails to humid gyms.
- Each pair of earbuds undergoes rigorous quality testing to ensure they can endure tough workout conditions and repeated use.
Smart Features and Connectivity for the Modern Athlete
Today’s athletes expect their gadgets to be smart and connected, and Bose delivers on this front as well. The Sport Earbuds come with Bluetooth 5.1 connectivity, which provides a strong and reliable wireless connection. The intuitive touch interface allows for easy control of music and calls, and the earbuds are compatible with both iOS and Android devices. With the Bose Music app, users can customize settings, check battery life, and even locate their earbuds if they get lost.
Seamless Integration with Devices:
- The Bose Music app enables quick pairing and easy switching between devices.
- The earbuds remember multiple devices, making it hassle-free to switch from your phone to your tablet or computer.
Practical Touch Controls:
- The responsive controls work even with sweaty hands or while wearing gloves.
- Users can play or pause music, take calls, and access voice assistants with simple gestures.
Long Battery Life and Fast Charging:
- The Bose Sport Earbuds offer up to 5 hours of battery life on a single charge, with an additional 10 hours available from the included charging case.
- A quick 15-minute charge gives up to 2 hours of playback time, which is perfect for those times you forget to charge before your workout.
Personalization and Ease of Use
The Bose Sport Earbuds are not just about sound and durability; they also prioritize user personalization and convenience. The Bose Music app serves as a control center, allowing users to tailor their listening experience to their preferences. Through the app, users can manage Bluetooth connections, modify touch controls, and even engage in guided product tours that enhance their understanding and use of the earbuds.
User-Centric Configuration:
- The app allows for the adjustment of volume, playback, and more, meaning your phone can stay tucked away during your workouts.
- You can directly access firmware updates through the app, ensuring your earbuds stay up-to-date with the latest features and performance improvements.
- For those who frequently misplace their earbuds, the “Find My Buds” feature can be a workout saver, emitting a tone to help locate the missing earbud.
Community and Support
Bose understands the value of community and provides extensive support to its users.
The Bose community forum serves as a hub for sport enthusiasts. They can share tips, workout playlists, and personal experiences with the Sport Earbuds. Additionally, Bose’s customer support team is always ready to help. They offer assistance ranging from troubleshooting to warranty services. This ensures that users can maintain their focus on their fitness journey.
Engaging with Other Bose Users:
- The community forum is an excellent resource for new workout ideas and discussions on how to optimize the use of your earbuds.
- Users can also contribute product feedback, which Bose takes into consideration for future improvements and updates.
In closing, for those looking for a premium audio experience that keeps pace with rigorous physical activity, the latest Bose earbuds for sport enthusiasts are a perfect choice. These earbuds combine comfort, stability, and superior sound quality with durability and smart features for an active lifestyle. Built to enhance workouts for seasoned athletes or casual joggers alike, Bose engineers sport earbuds to make exercise more enjoyable and effective. With these earbuds, you can immerse yourself in your music and stay focused on your fitness goals.