Tangled No More: Exploring the Best Sony Earbuds Wired
Sony has long been recognized for delivering high-quality audio products, and its selection of wired earbuds is no exception. For those who prefer the reliability of a physical connection to the convenience of wireless, Sony’s wired earbuds offer superior sound, convenience, and a freedom from the common issues associated with Bluetooth earbuds, such as battery life and pairing challenges. In this article, we will explore the standout features of the best Sony wired earbuds, delve into the audio quality and enhancements that set them apart, investigate their compatibility and usability across various devices, and assess the overall value they provide in a market that’s increasingly shifting toward wireless solutions. Whether you are an audiophile, a commuter, or a professional in need of dependable earbuds, Sony’s line-up has something to offer.
Standout Features of Sony Wired Earbuds
Durability and Comfort
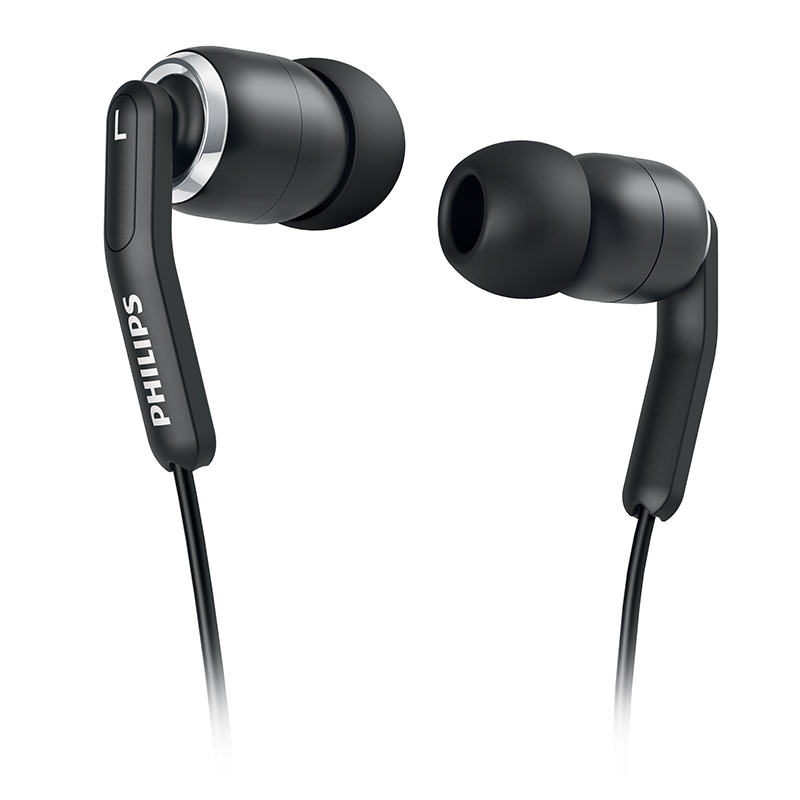
Designed for durability and comfort, the best Sony wired earbuds are constructed with high-quality materials to withstand daily wear and tear. Some models feature tangle-free cables, saving you the hassle of untangling cords every time you wish to listen to music. In terms of comfort, Sony earbuds often come with multiple ear tip sizes, ensuring a snug fit for a variety of ear shapes, which is essential for prolonged listening sessions.
In-Line Controls and Microphone
A key feature of many Sony wired earbuds is the in-line remote control and microphone. This addition allows users to manage their music playback and calls without having to reach for their device. With the simple click of a button, you can play or pause tracks, skip songs, control volume, and answer or end calls. The integrated microphone is usually fine-tuned for clear voice pickup, making Sony wired earbuds a great option for hands-free phone conversations or voice commands.

Audio Quality and Sound Enhancements
Superior Sony Sound Profile
When it comes to audio quality, Sony wired earbuds often boast a sound profile that pleases even discerning ears. Known for their rich bass response and clear, crisp highs, Sony earbuds deliver a balanced and immersive listening experience. Audio enthusiasts will appreciate the attention to detail in sound reproduction, ensuring that each note and lyric is heard with clarity.
Specialized Audio Technology
Some of the top Sony wired earbuds feature specialized sound enhancements. They include technologies like Extra Bass for deeper low-end sounds. Noise isolation features also help to block out external noise. Certain models boast high-resolution audio compatibility. This ensures the earbuds reproduce the subtleties of high-quality sound recordings. They can also handle a wide frequency range, capturing every nuance of the audio.These technologies contribute to a high-fidelity audio experience that brings you closer to the original recording.

Compatibility and Usability Across Devices
Universal 3.5mm Jack Connectivity
One of the advantages of Sony’s wired earbuds is the universal 3.5mm audio jack, which ensures compatibility with a wide array of devices, including smartphones (with the appropriate adapter if needed), tablets, laptops, MP3 players, and in-flight entertainment systems. This versatility makes them an excellent all-around choice for users who interact with multiple devices throughout their day.
Plug-and-Play Convenience
Unlike their wireless counterparts, Sony wired earbuds offer a plug-and-play experience that does not require any setup or charging. Just plug in the earbuds, and you’re ready to enjoy your audio. This is particularly beneficial for users who want to avoid the potential complexities of Bluetooth pairing or who are concerned about the security implications of wireless connections.
Overall Value in a Wireless-Dominated Market
Reliability and Cost-Effectiveness
In a market where wireless solutions are gaining popularity, the best Sony wired earbuds stand out as a reliable and cost-effective alternative. They don’t suffer from latency issues common in wireless earbuds, making them ideal for watching videos or gaming. Additionally, the absence of a battery eliminates concerns about charging and battery degradation over time, providing a longevity that wireless solutions can struggle to match.
Assessing the Investment
For consumers considering Sony wired earbuds, it’s important to weigh the benefits of audio quality, ease of use, and reliability against the convenience of wireless options. While some may find the physical cord restrictive, others will value the consistent performance and simplicity of a wired connection. Moreover, with a typically lower price point than wireless earbuds, Sony’s wired options offer significant value for those seeking quality audio on a budget.
Maintaining Audio Integrity in a Digital Age
Preserving Sound Purity with Analog Connections
In an era dominated by digital streaming, many often understate the value of analog sound provided by wired earbuds. Sony’s wired earbuds maintain the purity of audio signals by avoiding the compression that can occur with wireless transmission. This ensures that the sound from the audio source is delivered to your ears with minimal alteration. For purists and those who enjoy the fullness of uncompressed audio, this can be a decisive factor. Audiophiles who still cherish their vinyl records, high-quality FLAC files, or CDs find that Sony’s wired earbuds preserve the intricacies and warmth of their favorite music, delivering an authentic listening experience.
The Ecological and Practical Choice
Another aspect to consider when choosing Sony’s wired earbuds is their ecological footprint. With no need for batteries or the complex circuitry required for wireless connectivity, wired earbuds are simpler to produce and recycle. This makes them a more sustainable option for environmentally conscious consumers. Additionally, the longevity and durability of Sony’s wired models mean fewer replacements over time, further reducing waste. When it comes to practicality, the reliability of a constant connection without fear of interference or dropout is a significant advantage. For professionals who rely on clear audio for video editing, transcribing, or language learning, the consistency offered by wired earbuds is indispensable.
The best Sony wired earbuds offer a mix of high-quality audio, convenience, and reliability. They remain appealing despite the shift towards wireless technology. Users who prefer the simplicity and consistent performance of wired connections find Sony’s products highly valuable. There is a significant demand for high-performing wired audio solutions. Sony focuses on sound quality, user comfort, and universal compatibility. Their wired earbuds continue to compete well in the market. They provide an audio experience free from the complexities of modern wireless tech. Whether commuting, working, or relaxing, Sony’s wired earbuds are a dependable choice. They allow you to enjoy your audio with clarity and precision.